 Weekly Deals
 Water Heaters
 Accessories
 Installation
 Parts
Parts
 Protection Plans
 Final Sale




Step-by-Step Guide to Installing Your Eccotemp Tankless Water Heater
Updated August 2026 – This guide was expanded with clearer model-specific installation planning, utility and venting checks, startup and safety steps, maintenance guidance, and common installation mistakes to avoid. It now separates the requirements for indoor gas, outdoor gas, electric, and portable Eccotemp water heaters.
Installing an Eccotemp tankless water heater starts with identifying the exact model and following its current installation manual. Mounting, gas supply, electrical service, venting, water connections, clearances, and startup requirements can differ widely between models. Gas, electrical, venting, and other regulated work should be completed by qualified professionals as required by local code. In this guide, we’ll explain the installation sequence, what to verify at each stage, and which details must come from your model’s manual.
Key Takeaways
- Find the manual for the exact model before choosing a location or buying accessories.
- Confirm the model’s fuel type, approved installation location, utility requirements, and clearances.
- Do not apply instructions from another Eccotemp model to your water heater.
- Use qualified professionals for gas, electrical, venting, and code-regulated work.
- Complete startup testing before accepting the installation.
- Keep the manual, permit records, installer details, and model information together.
Start With the Exact Eccotemp Model and Manual
There is no single installation procedure that applies to every Eccotemp water heater. Begin by finding the full model number on the product label, packaging, or purchase record. Then locate that model in the Eccotemp product-manual library.
Confirm that the manual matches the model, fuel type, and market where the water heater will be used. A manual for an indoor propane unit cannot safely guide the installation of an outdoor natural gas model, electric unit, or portable water heater. Keep the manual available throughout planning, installation, startup, and future service.
Understand Which Type of Eccotemp Water Heater You Have
The installation path depends on the product type. Confirm the following before work begins:
Indoor Gas Tankless Water Heater
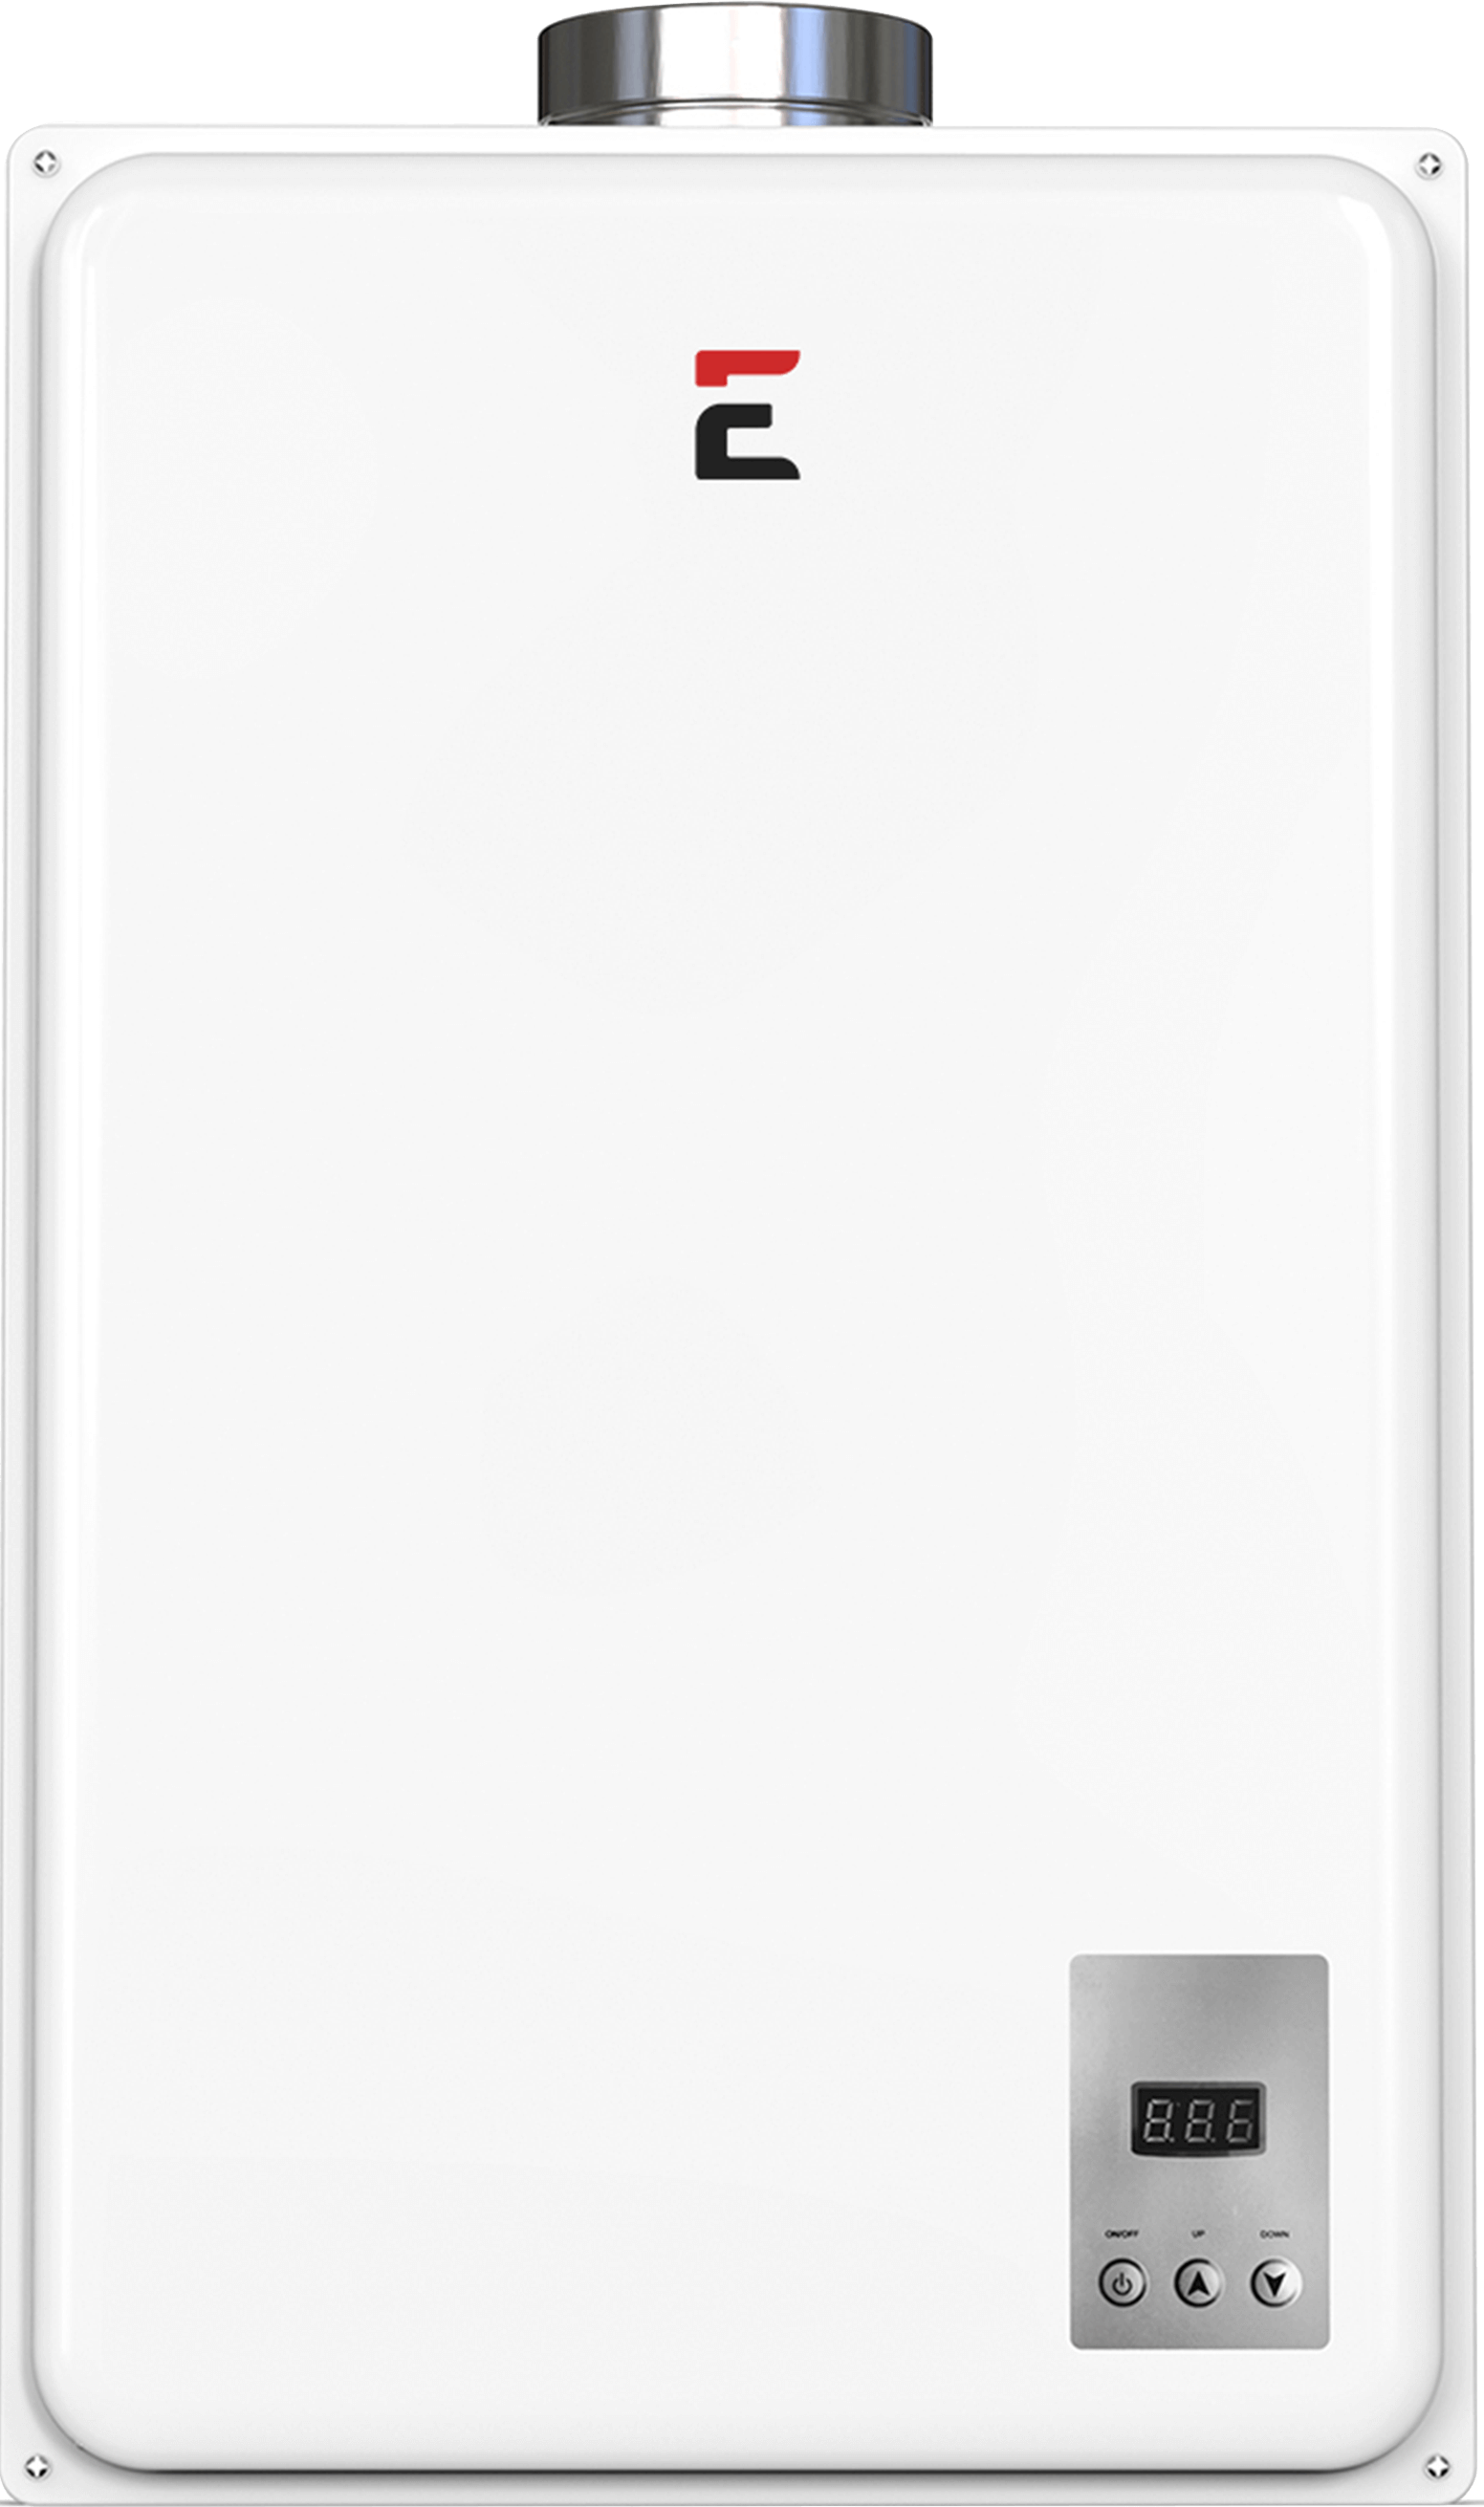
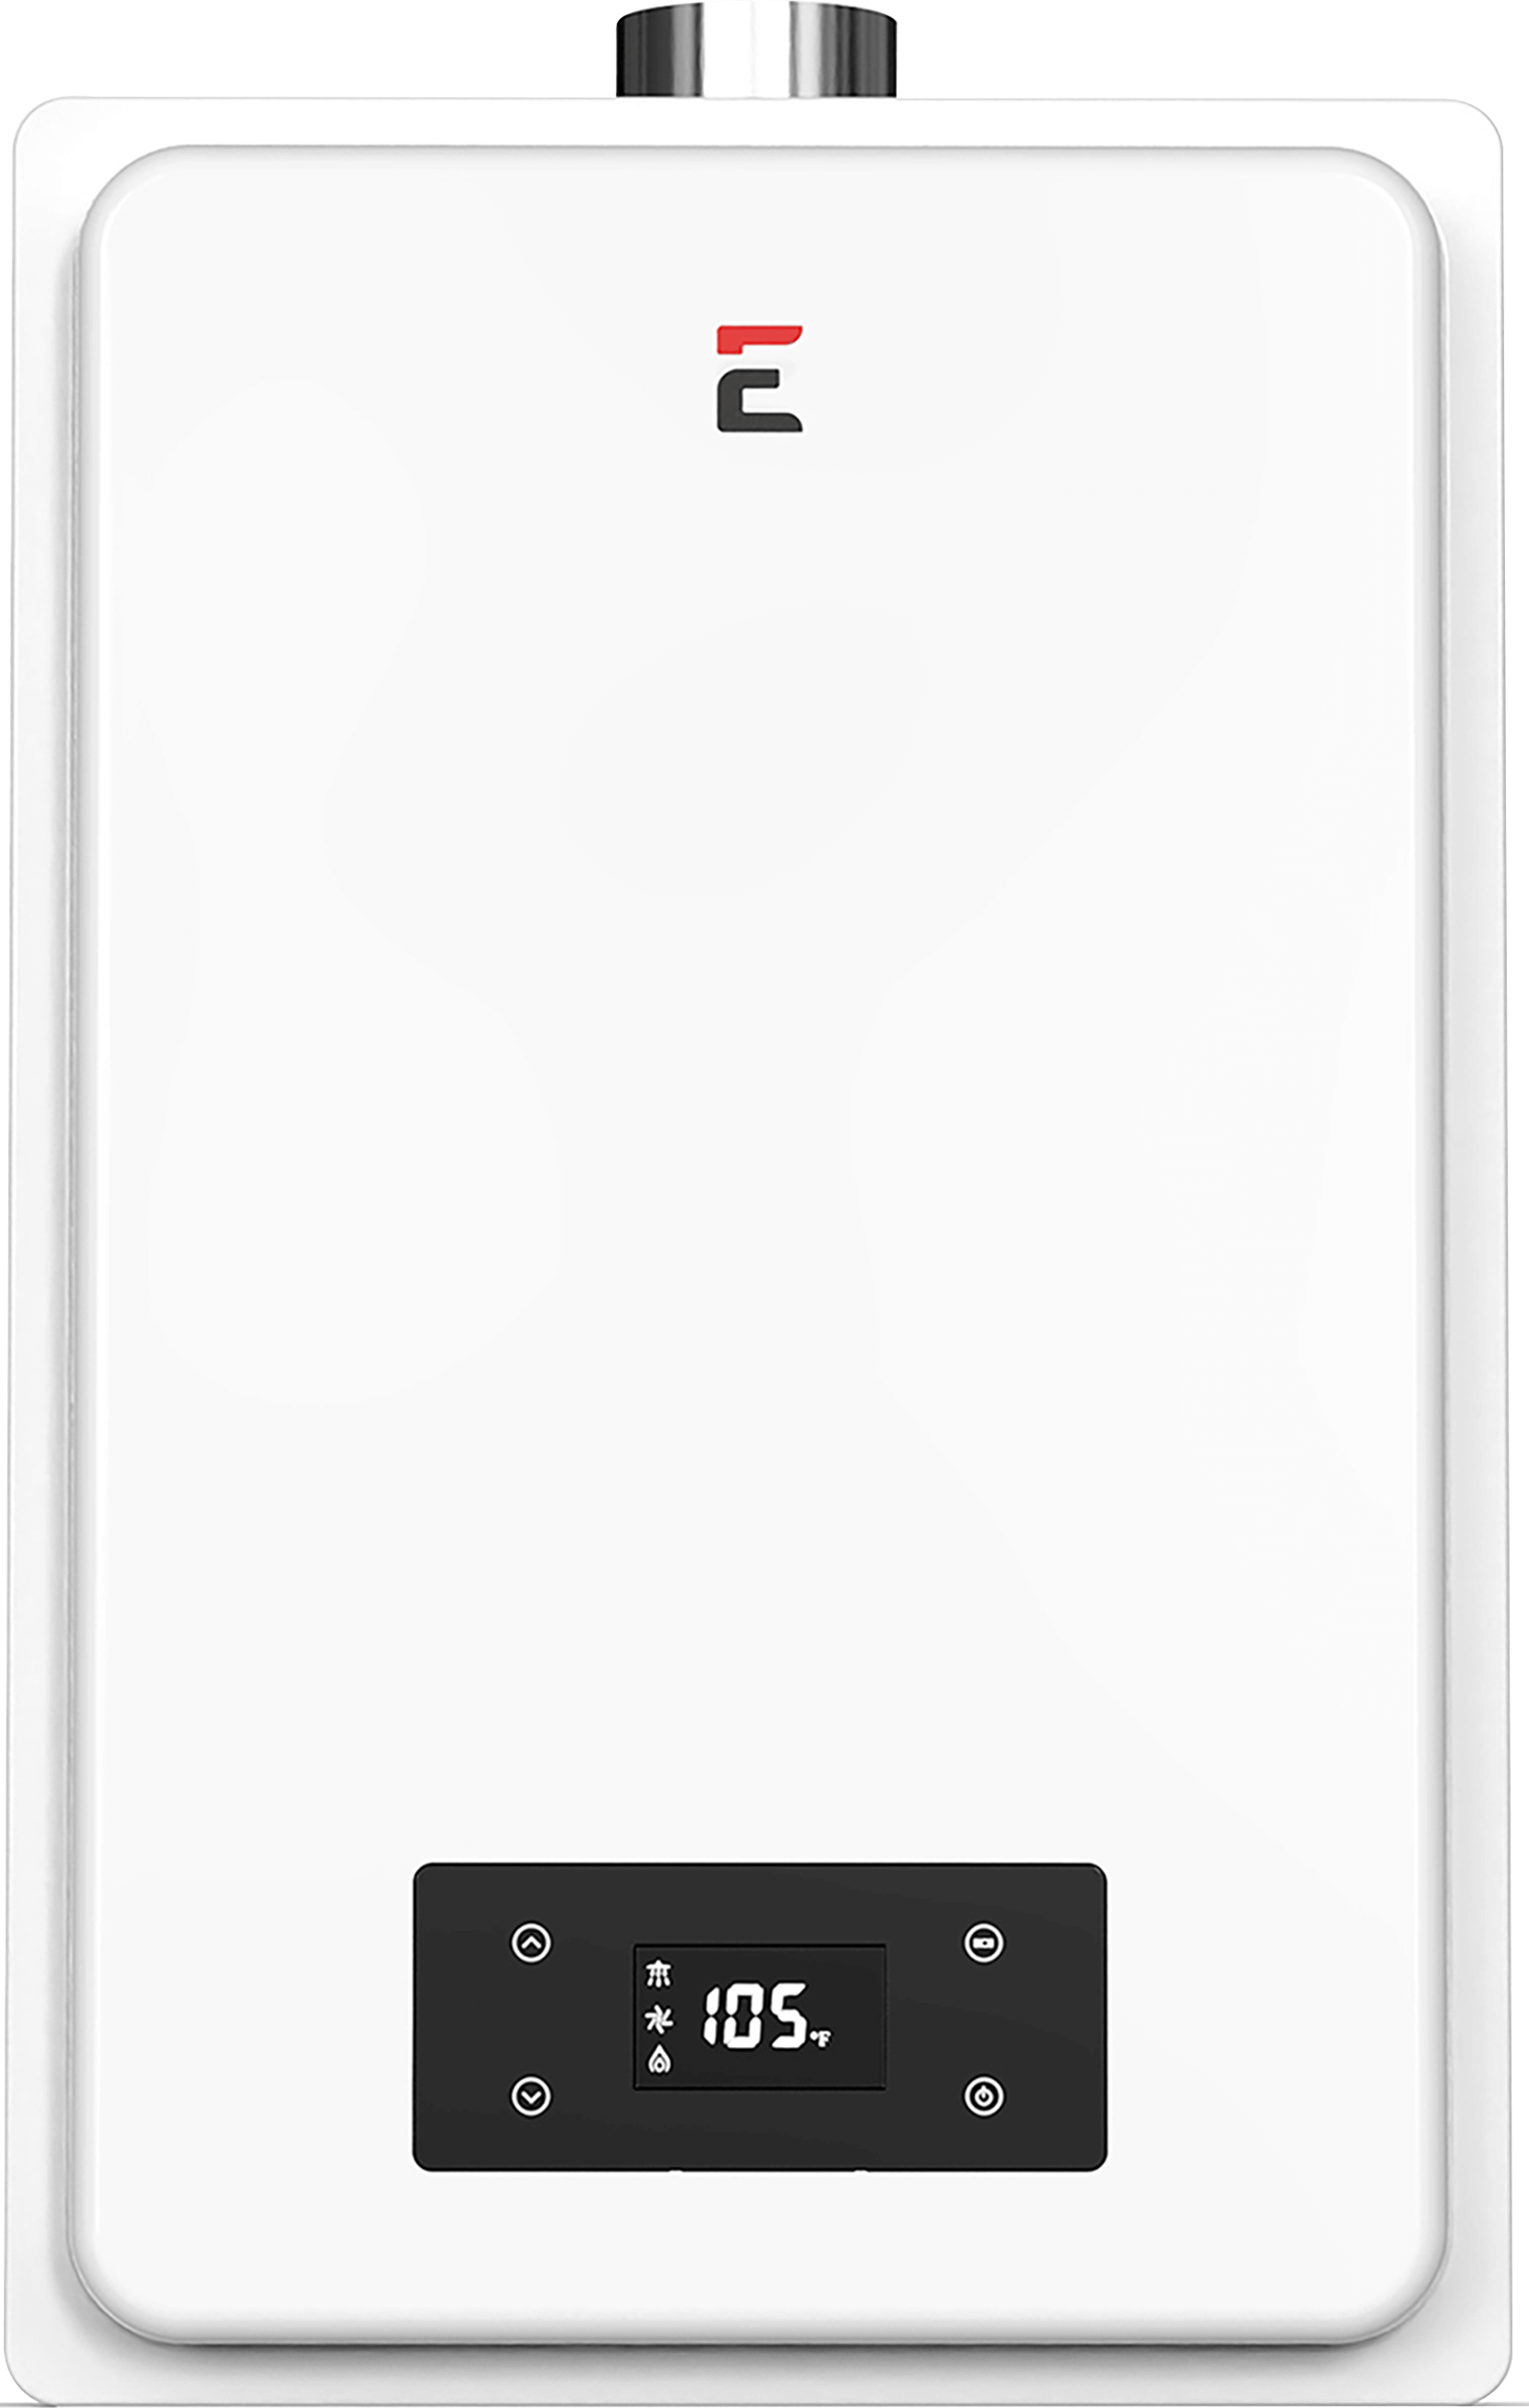
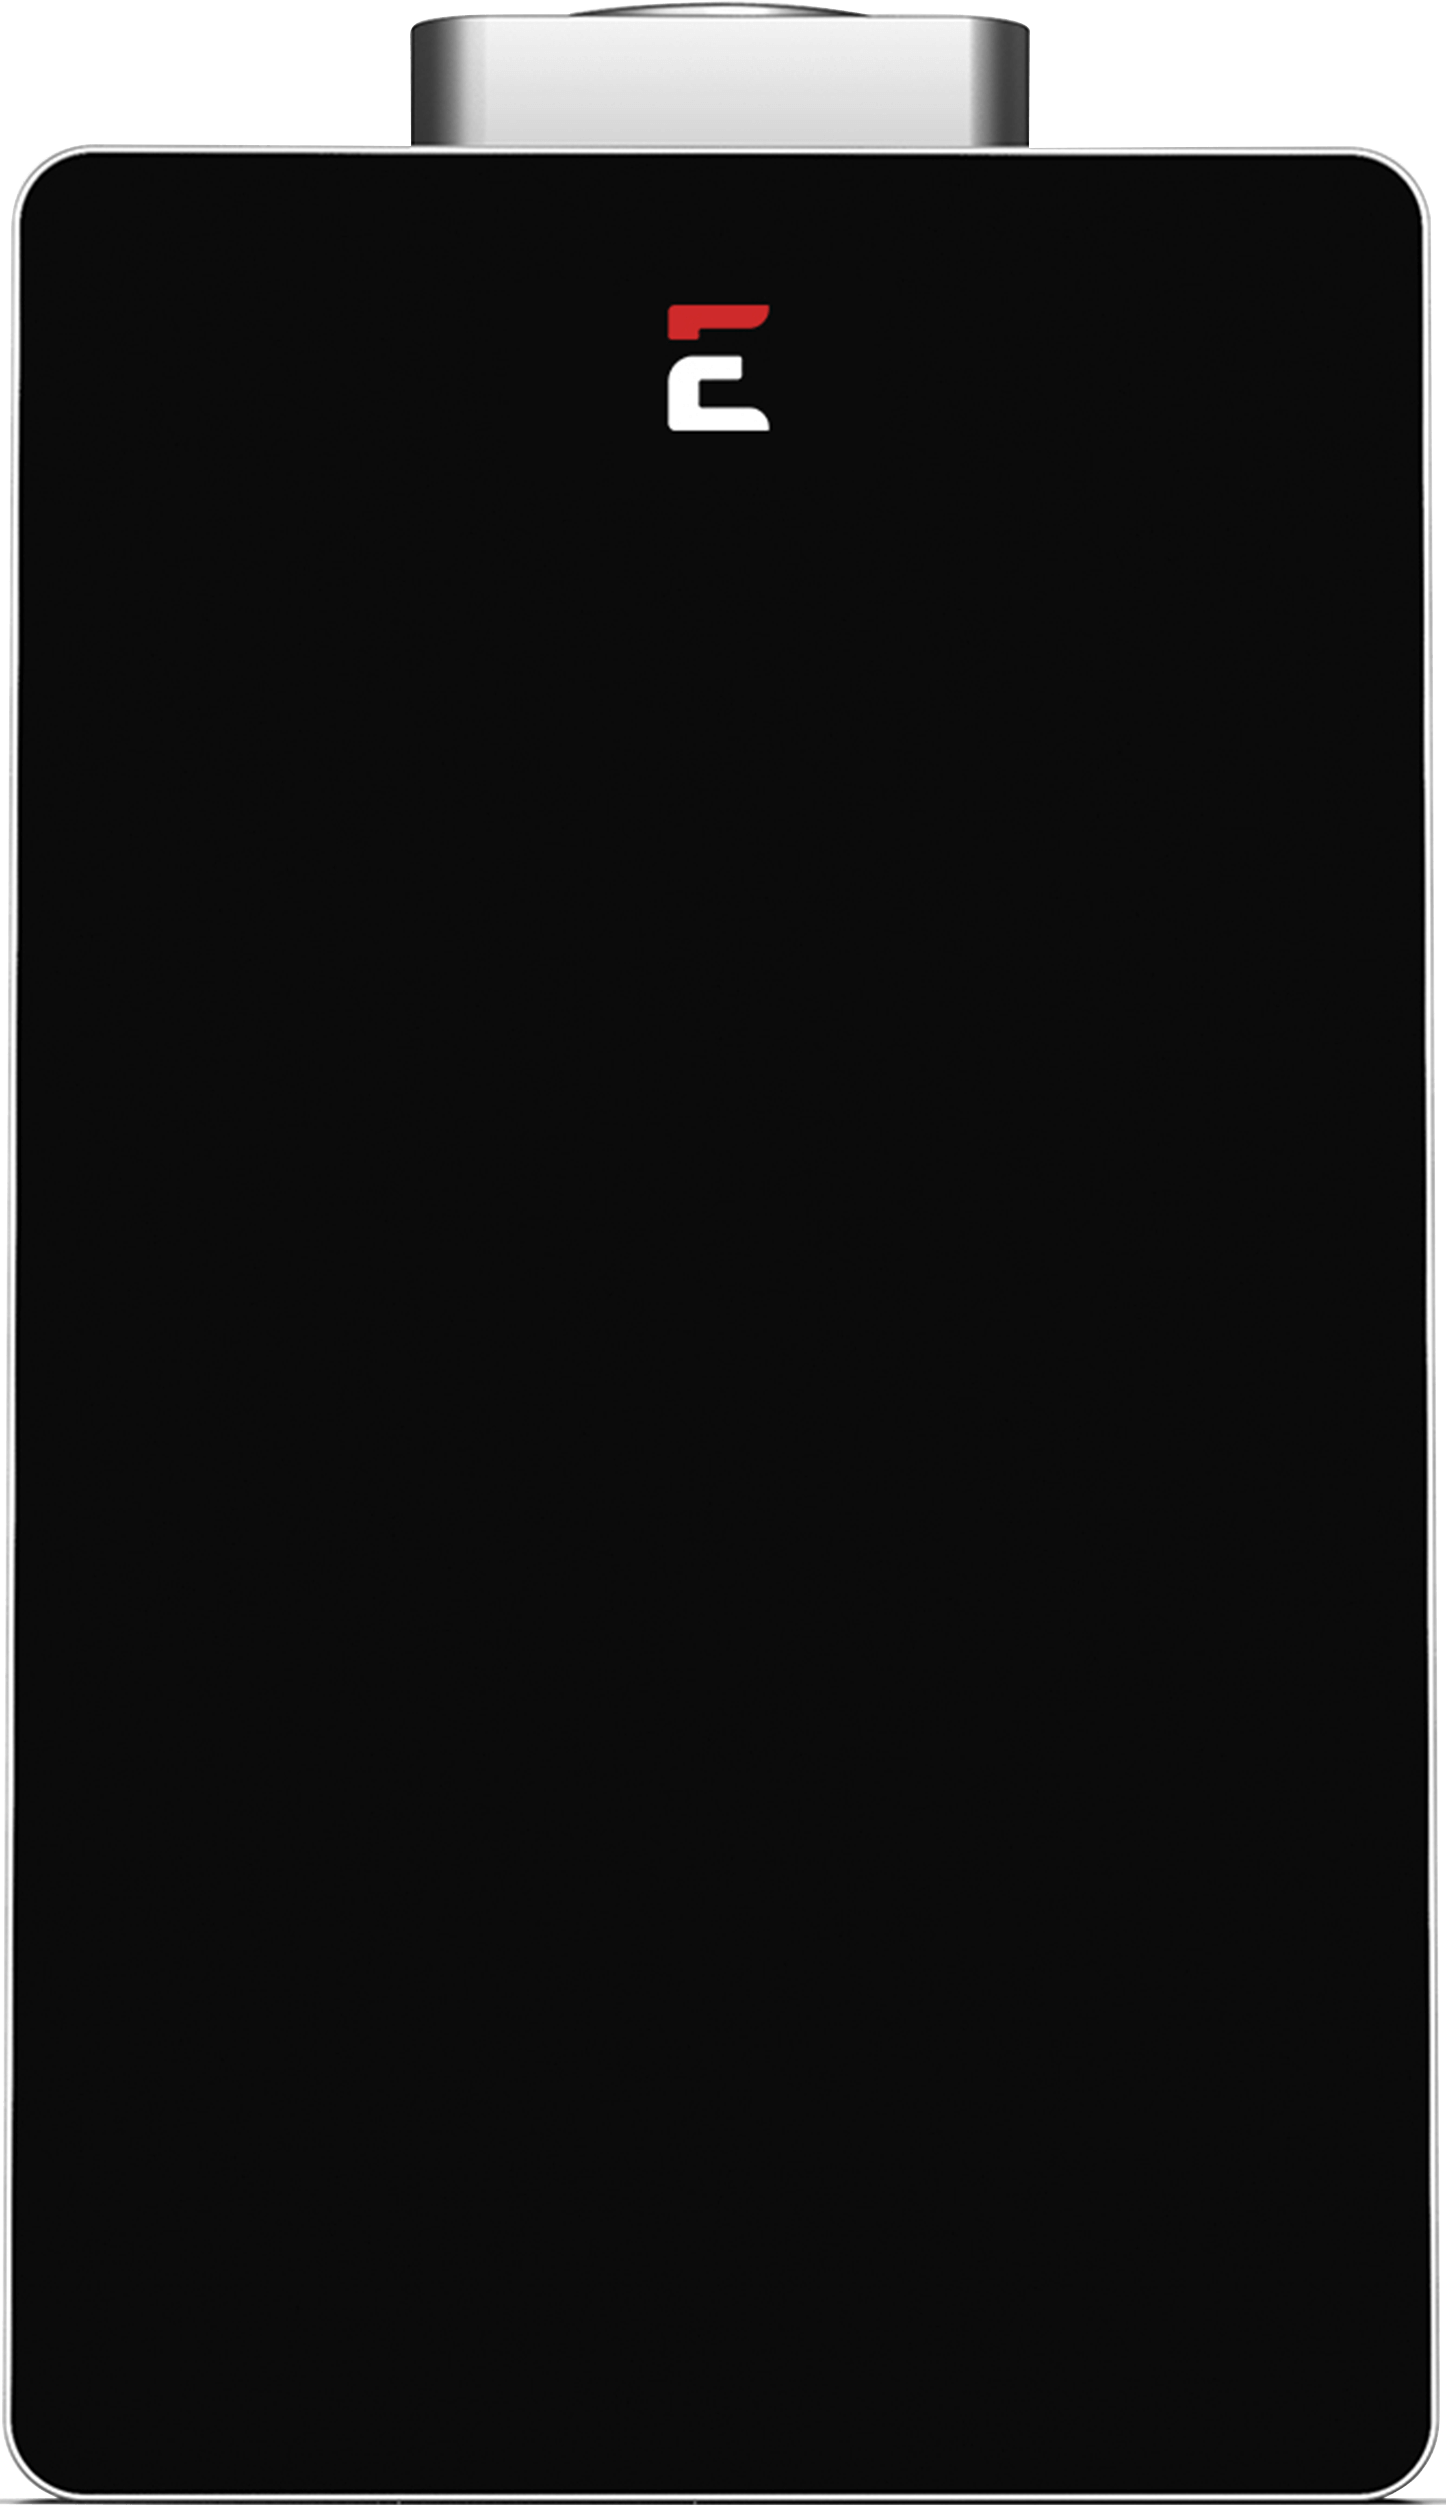
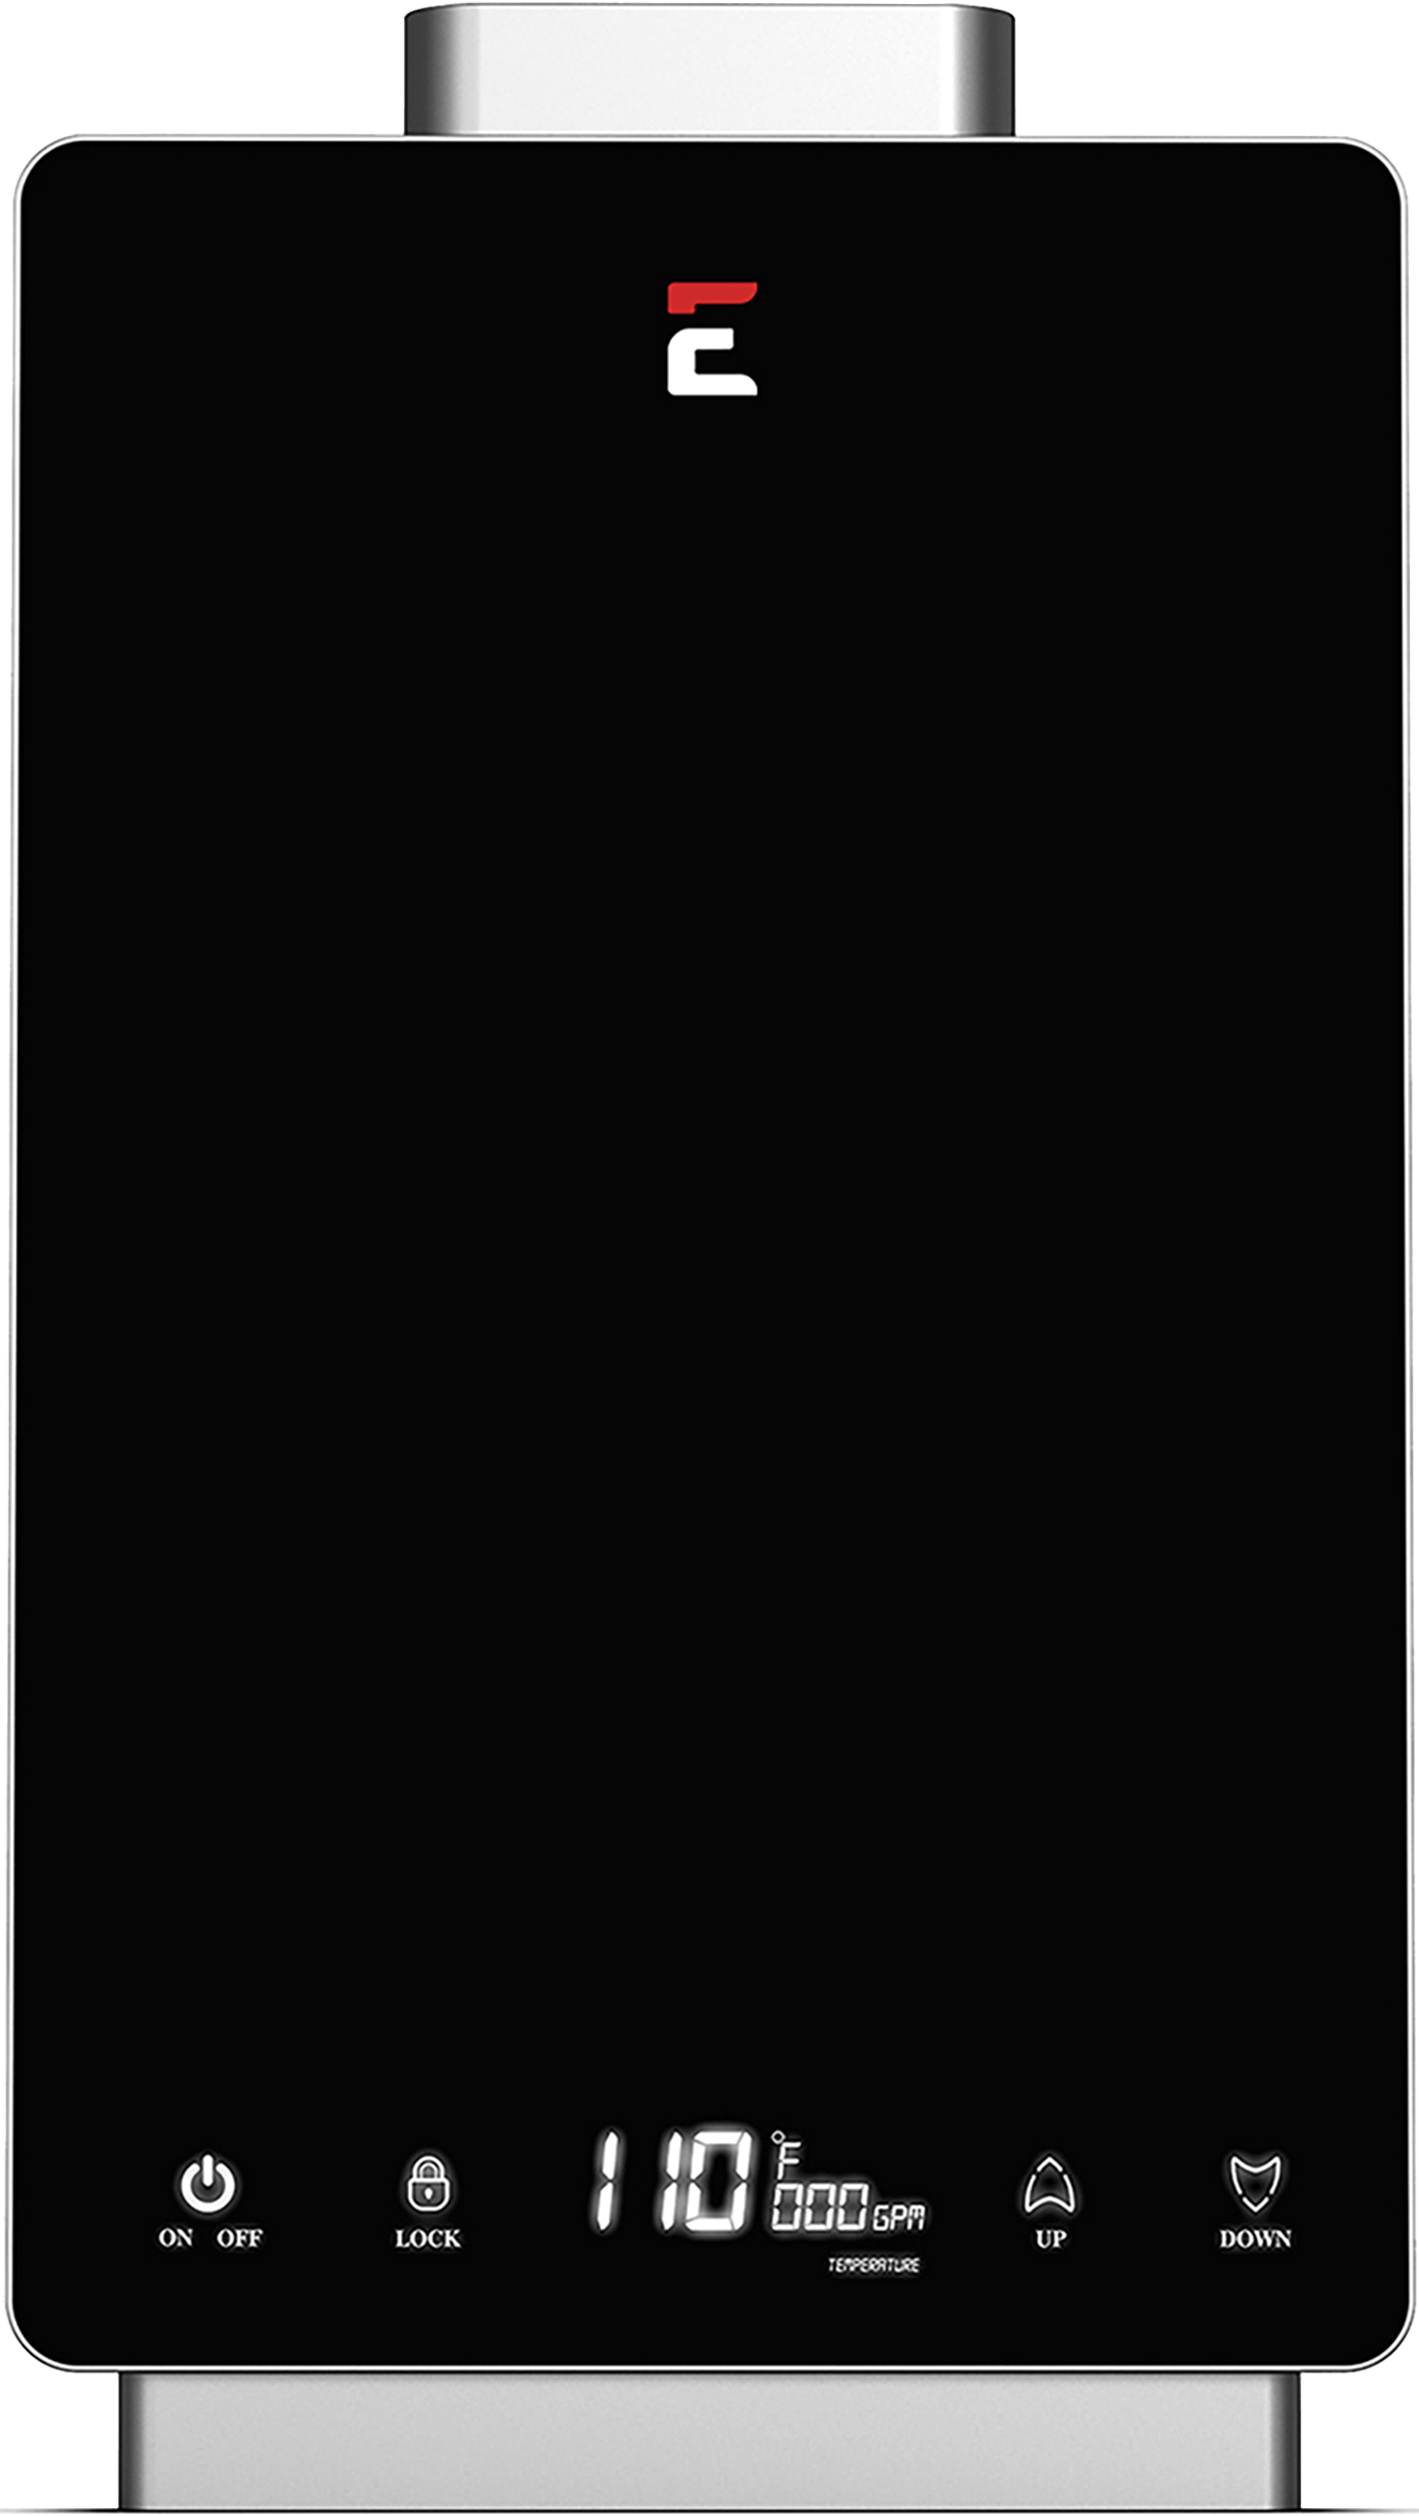
An indoor gas model may require a suitable gas supply, approved combustion-air provisions, model-compatible venting, electrical power, water connections, service access, and specific vent-terminal clearances. Every requirement must come from the applicable manual and local code.
Outdoor Gas Tankless Water Heater
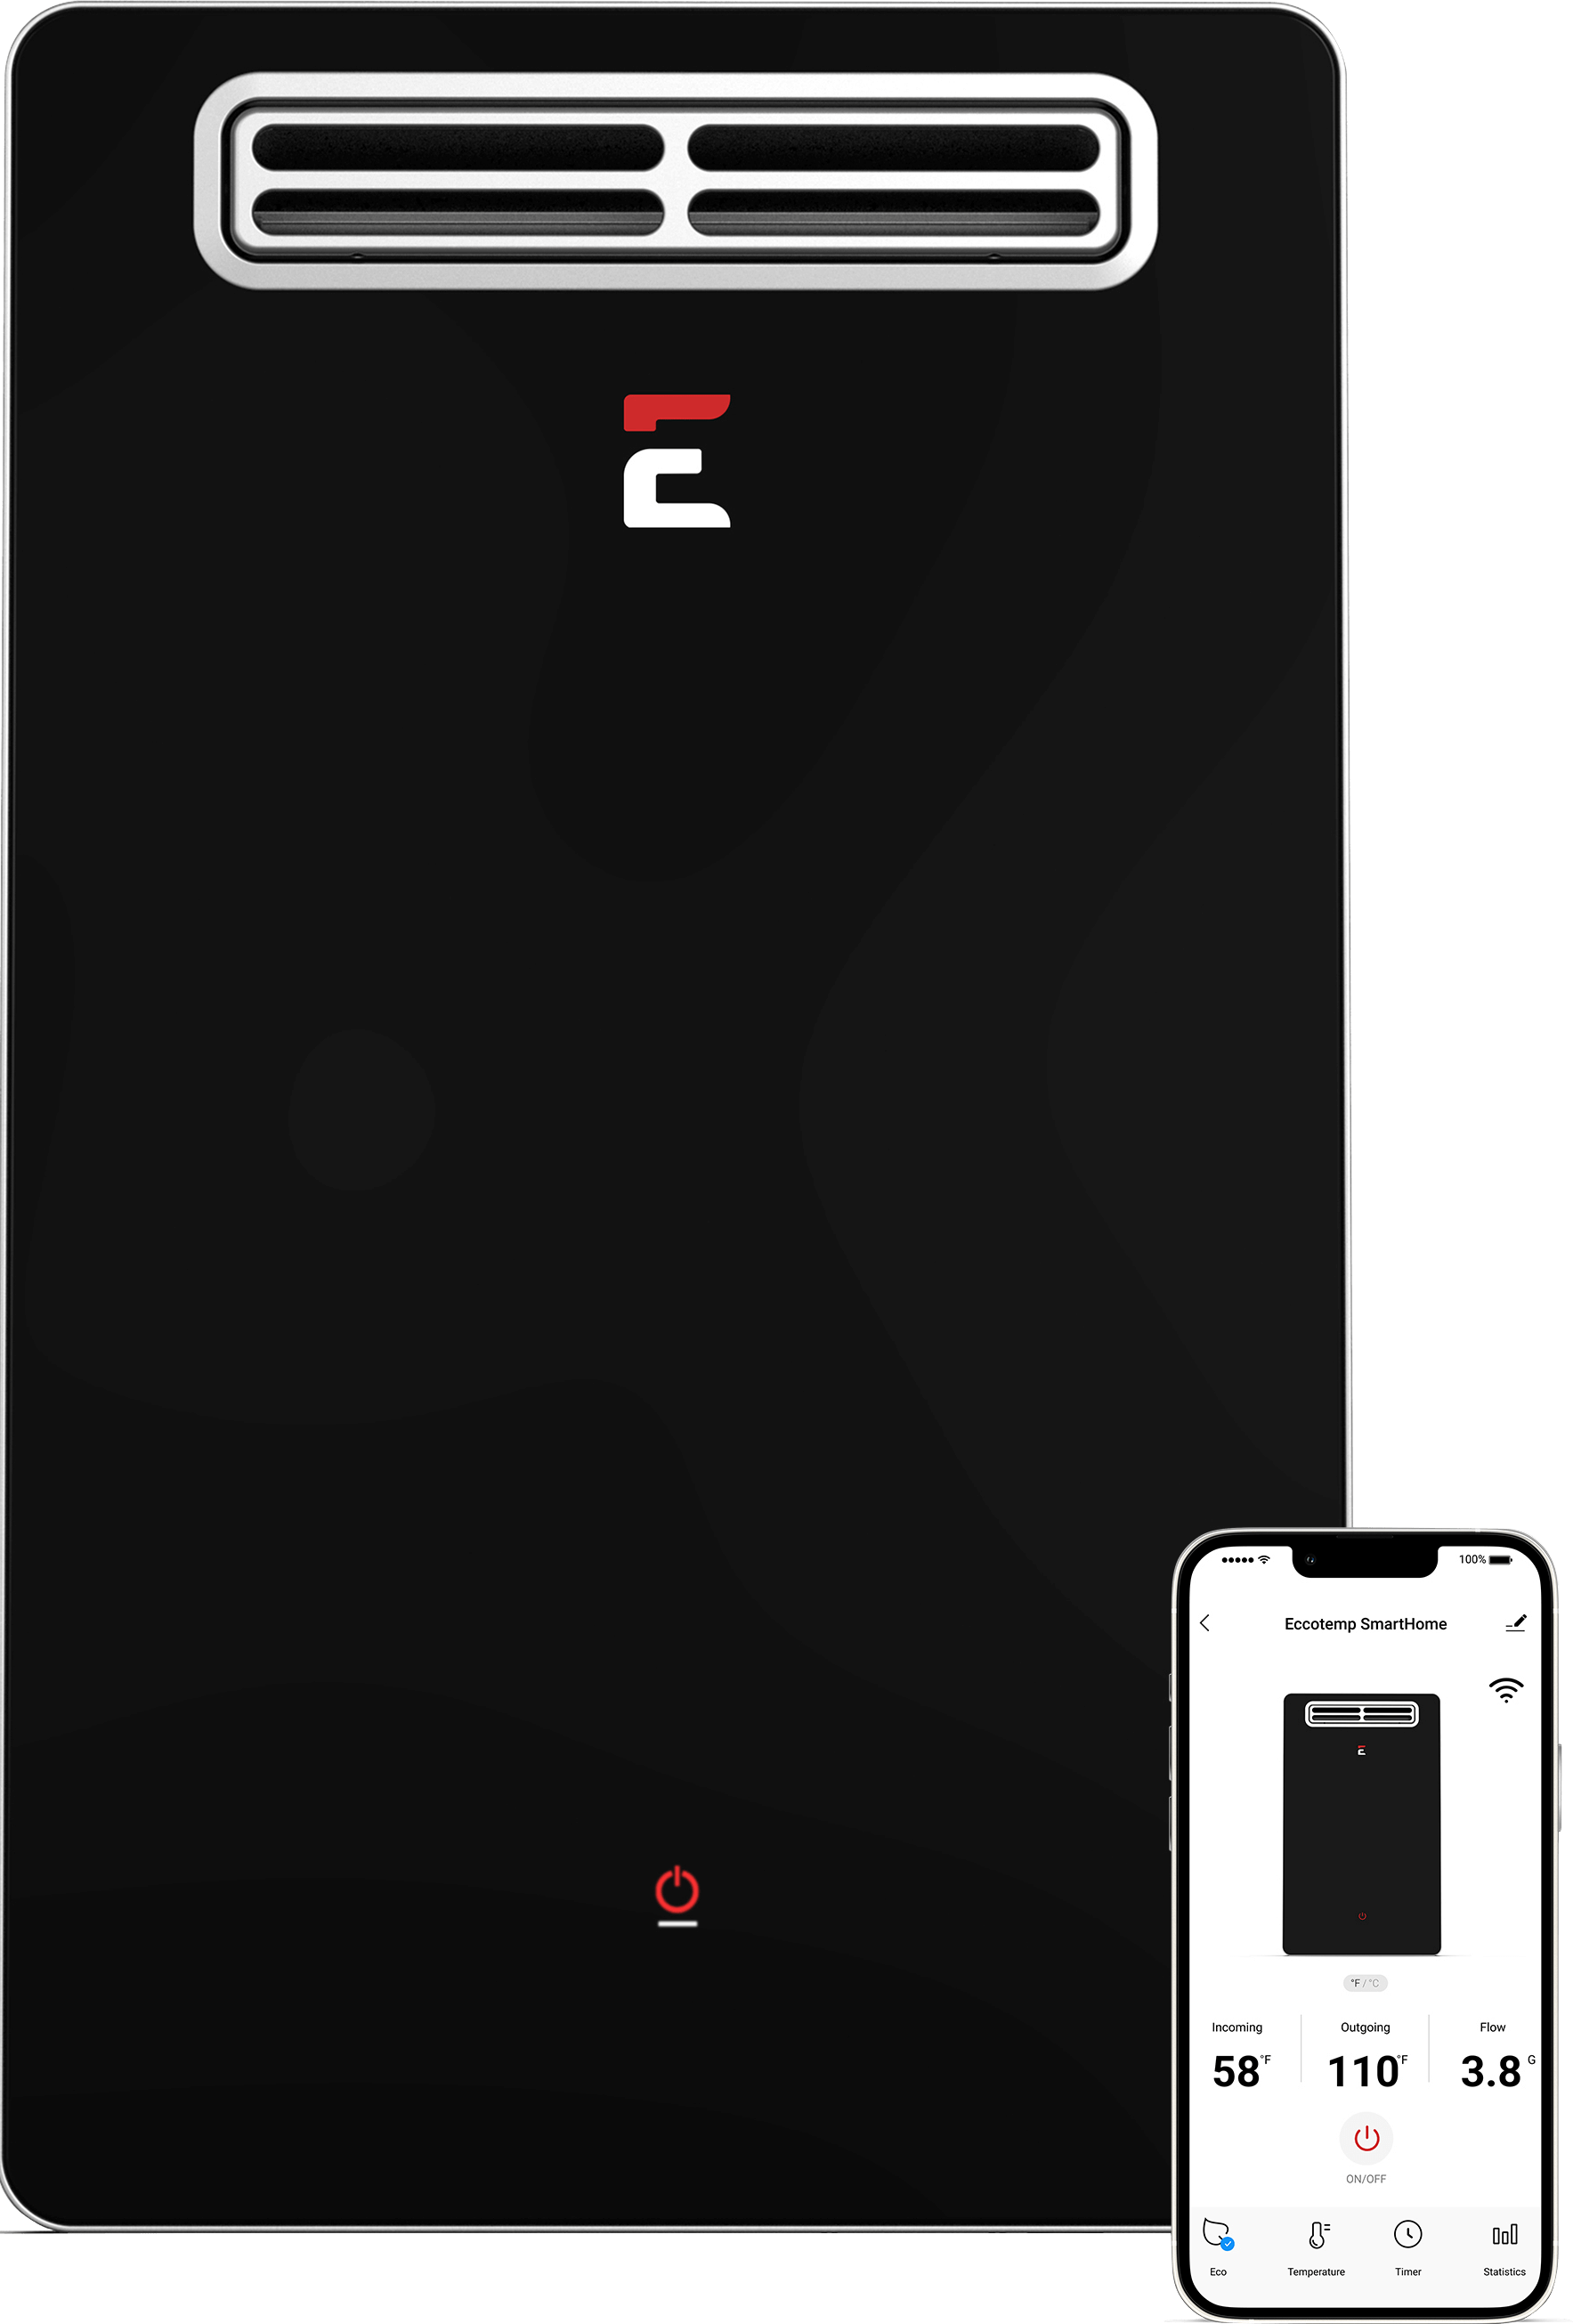
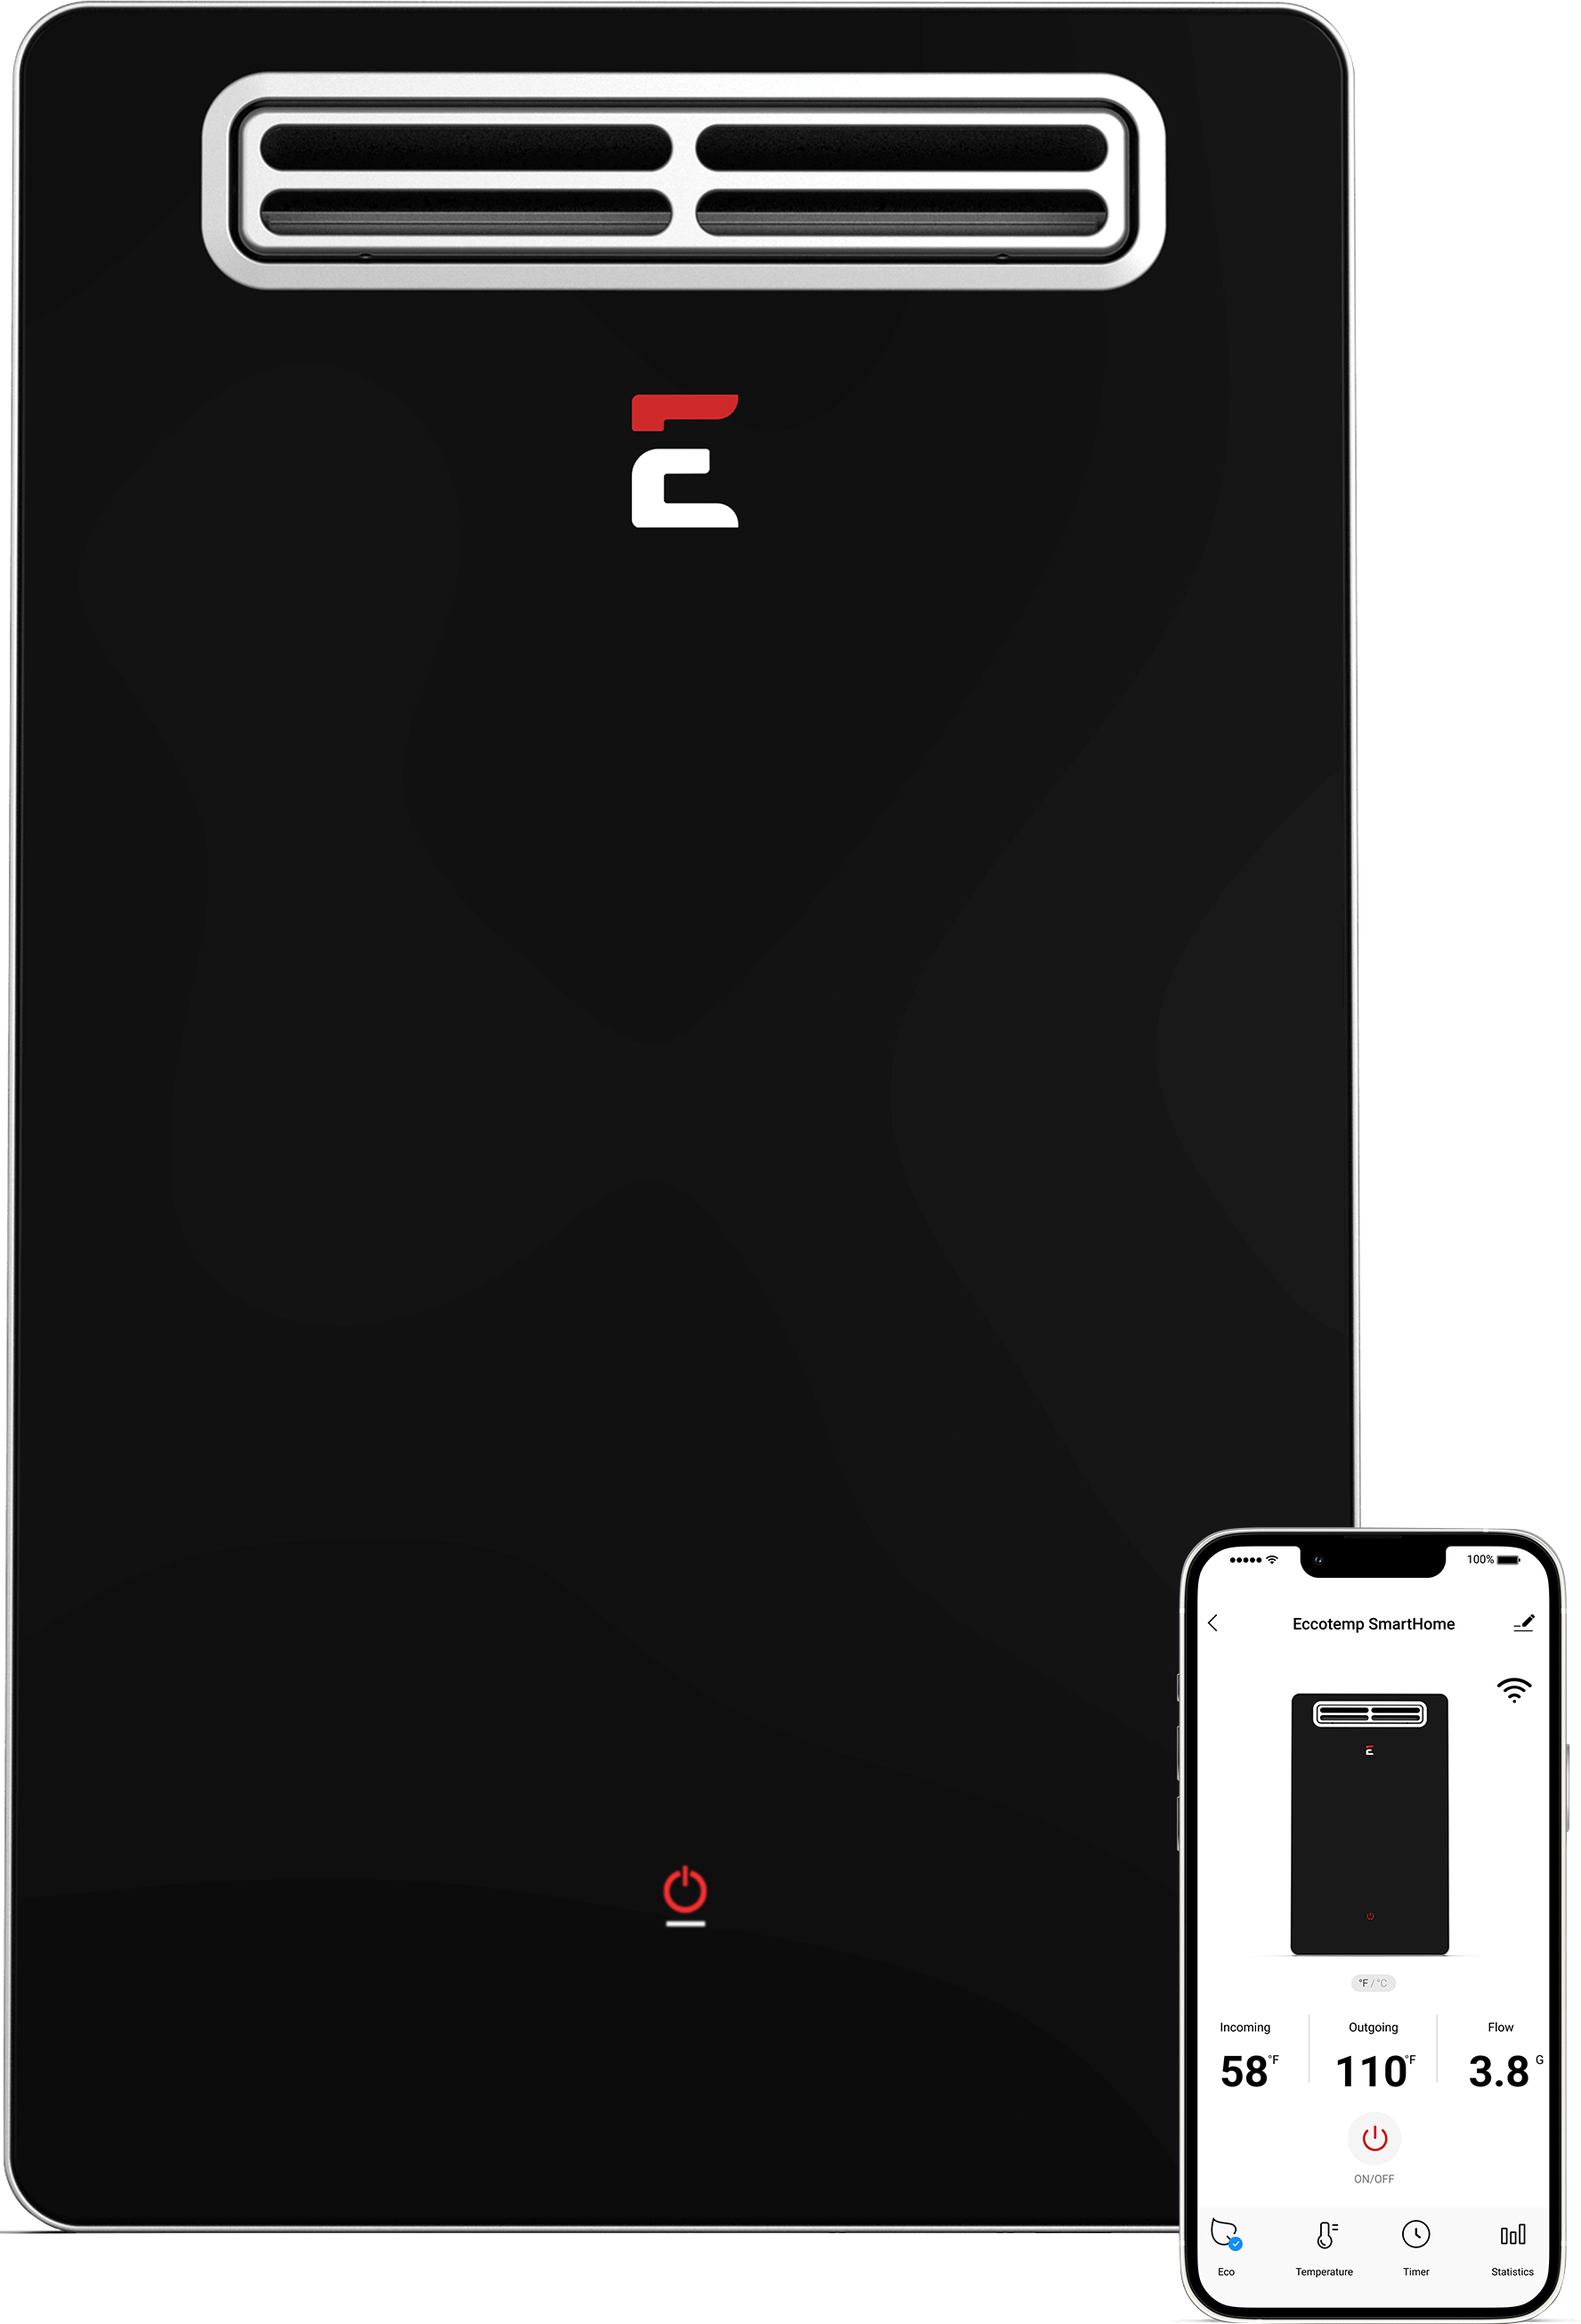
An outdoor model does not use the same indoor venting arrangement, but its placement is still controlled by the manual. The installer must account for clearances, building openings, weather exposure, drainage, servicing space, combustion exhaust, and freezing conditions.
Electric Tankless Water Heater
Electric tankless models do not require combustion venting. They may require dedicated circuits, specified wire sizes, breakers, grounding, and sufficient electrical-panel capacity. These requirements vary by model and should be verified by a qualified electrician. For a closer look at this installation path, review the electric tankless water heater installation requirements.
Portable Outdoor Tankless Water Heater
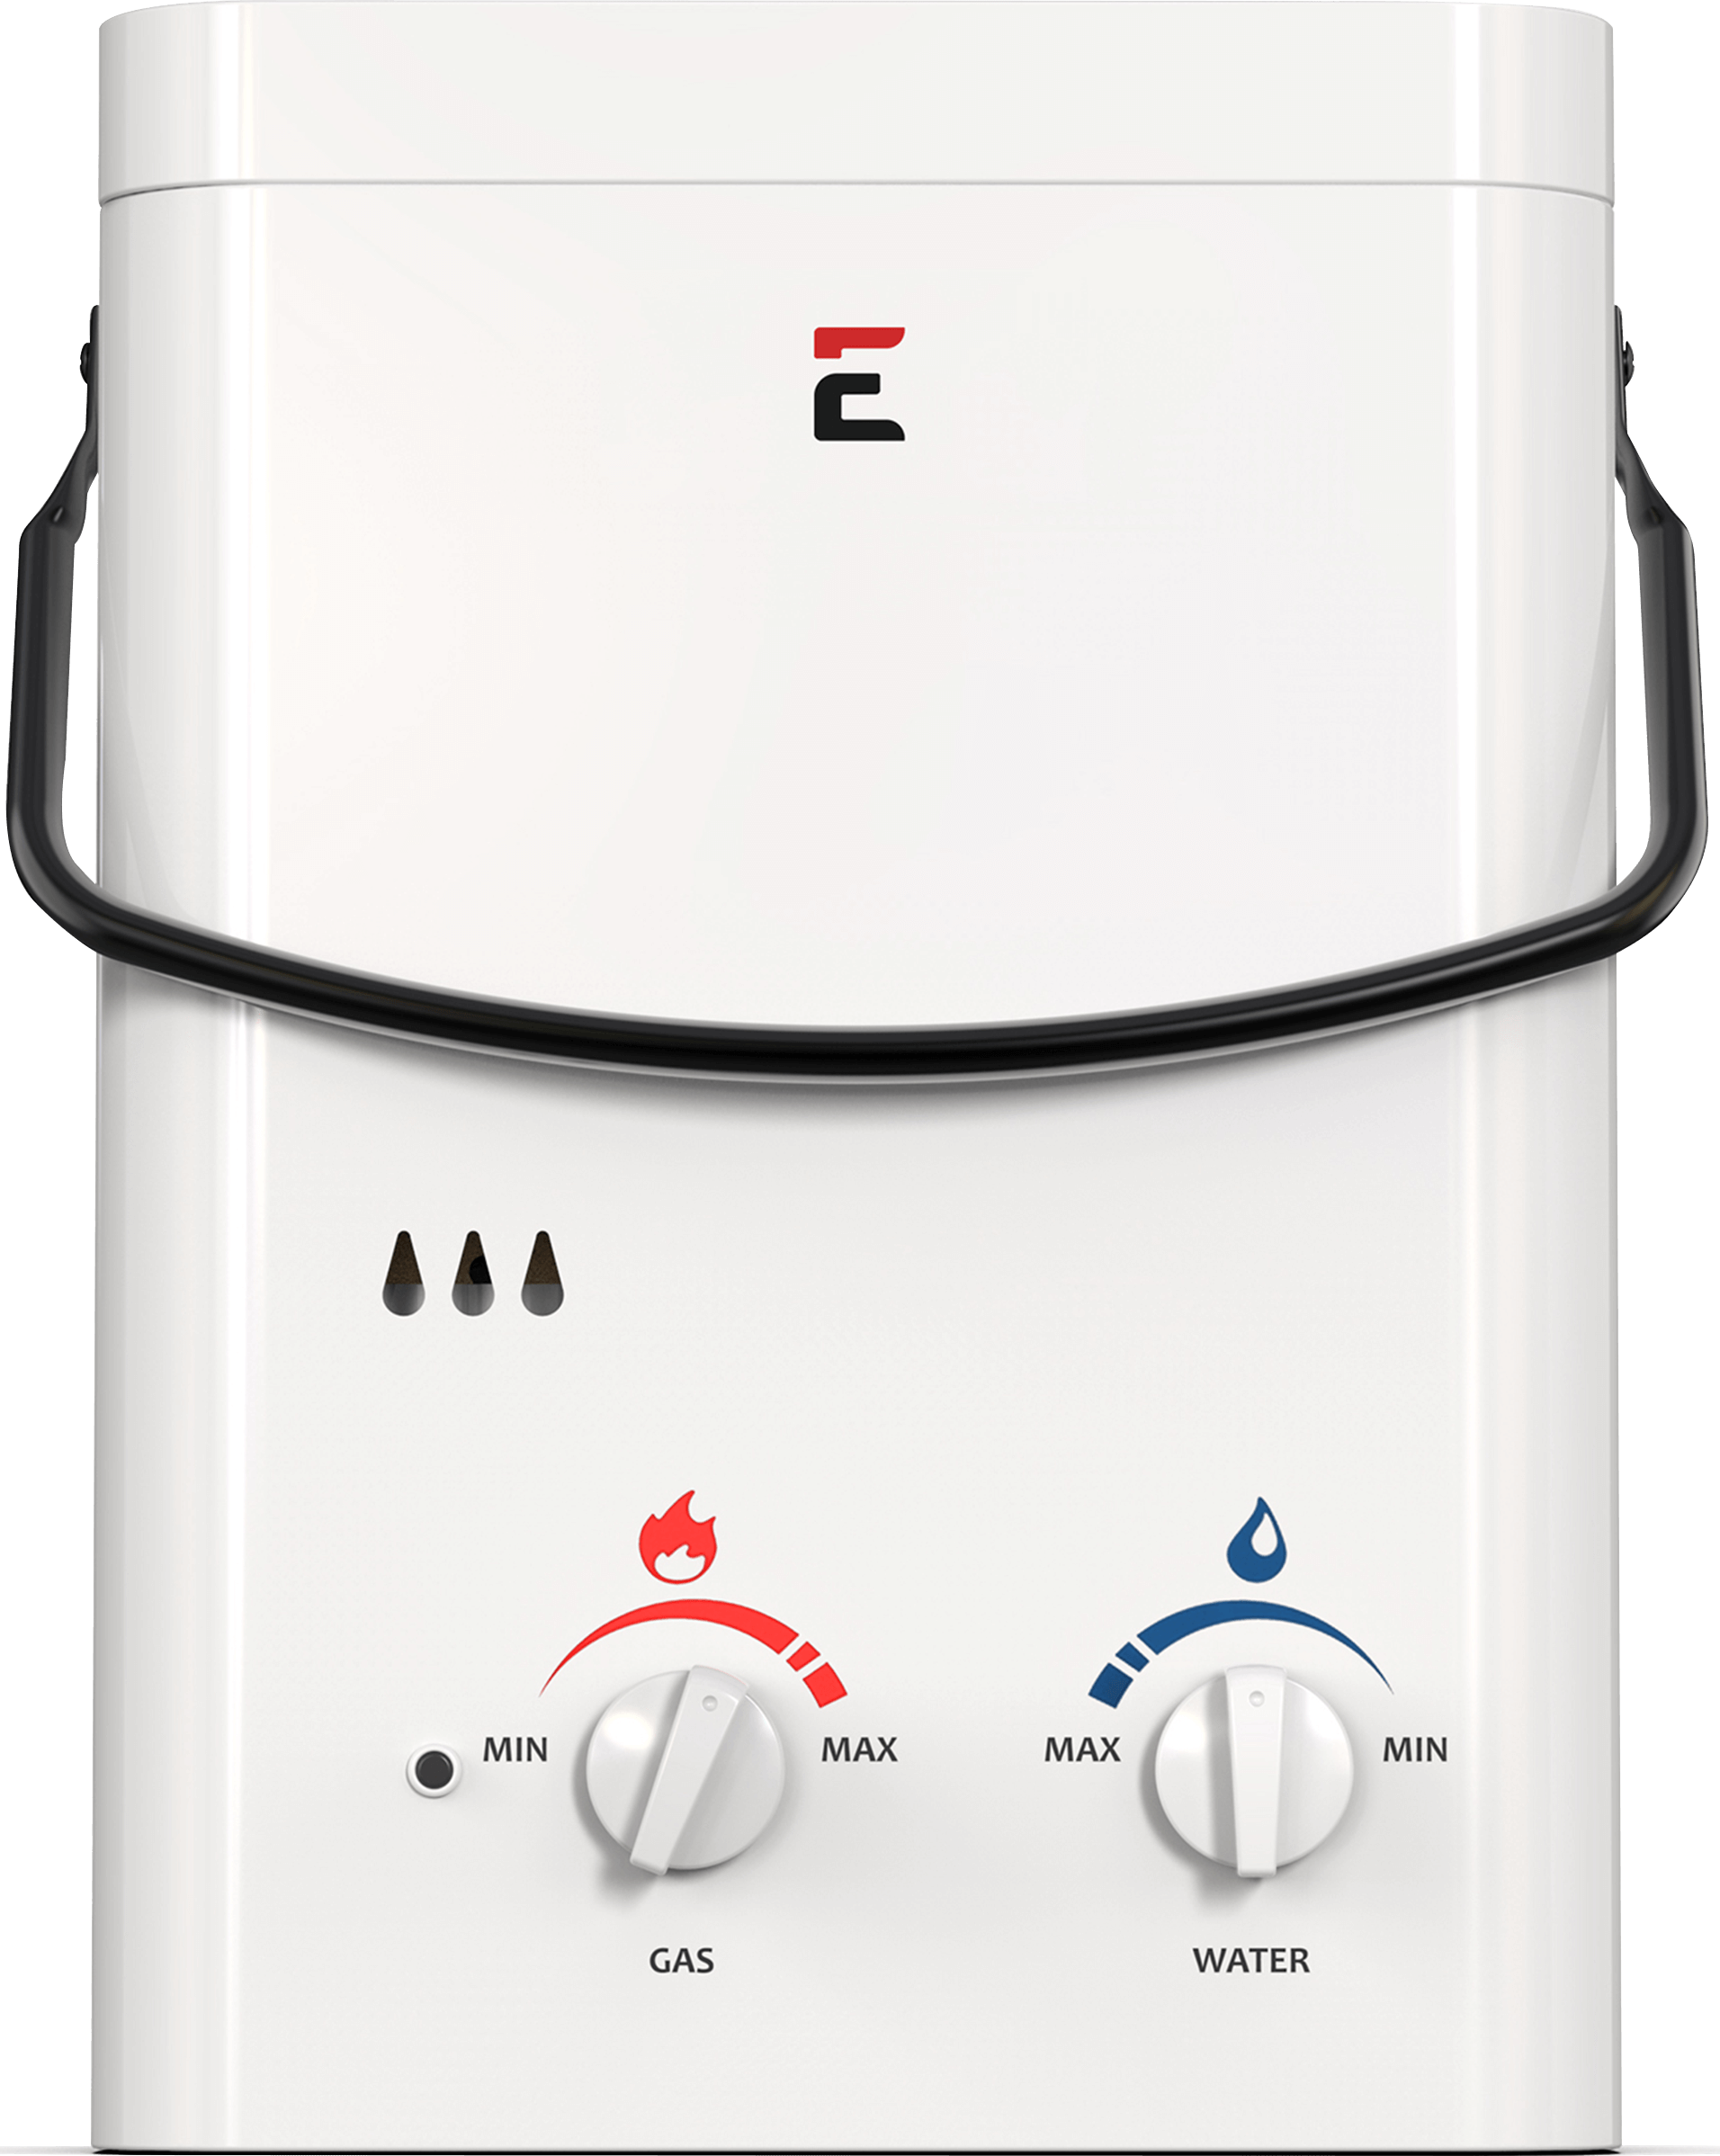
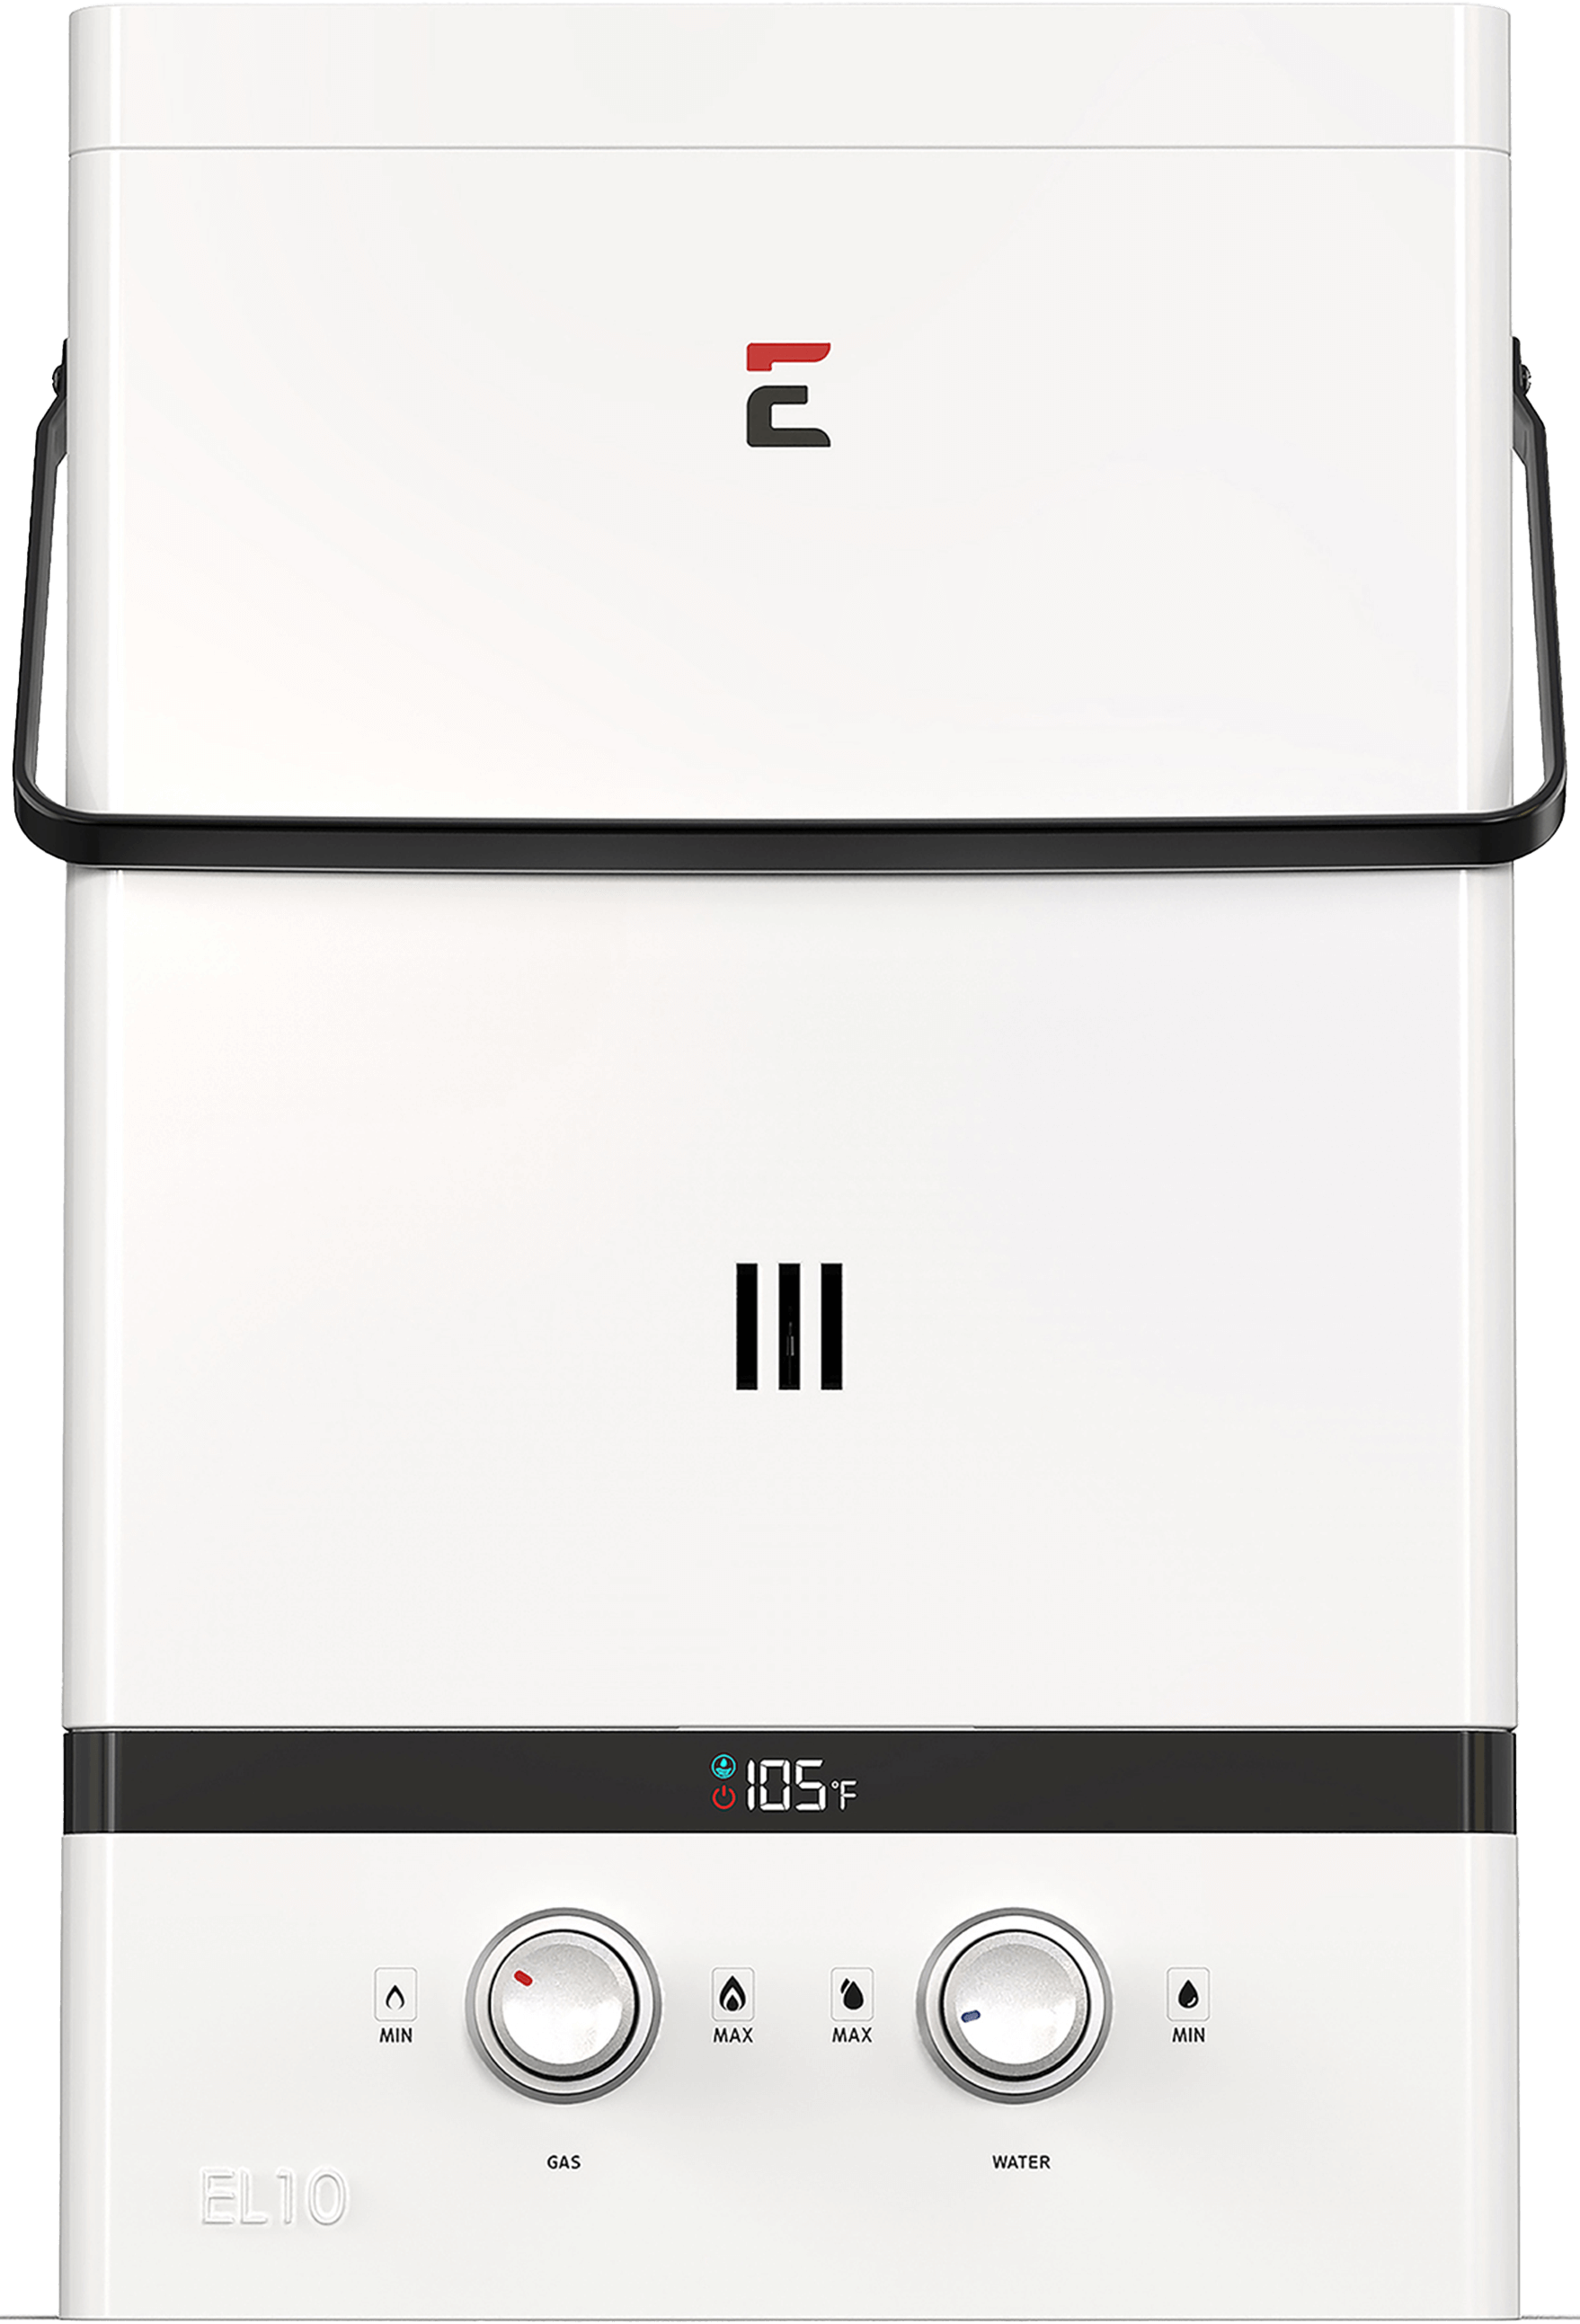
Eccotemp portable tankless water heaters are intended for temporary outdoor use. They must not be installed indoors or converted into permanent residential water-heating systems. Follow the exact portable model’s instructions for setup, ventilation, clearances, water supply, propane connection, drainage, and storage.
What Should Be Confirmed Before Installation Starts?
Use the following table to prevent model mismatch and incomplete site preparation.
|
Check |
What to confirm |
|
Model identity |
Full model number and the matching current manual |
|
Fuel or power |
Natural gas, propane, or electric |
|
Application |
Indoor, outdoor, point-of-use, whole-home, or temporary portable use |
|
Capacity |
Required flow rate and temperature rise for the intended fixtures |
|
Installation location |
Approved environment, clearances, service access, drainage, and freeze exposure |
|
Water supply |
Connection sizes, pressure range, pipe materials, filtration, and shutoff plan |
|
Gas supply |
Correct fuel, available supply, total connected load, pressure, and pipe sizing |
|
Electrical supply |
Voltage, amperage, breaker, wiring, grounding, outlet, and panel capacity |
|
Venting |
Approved material, diameter, length, fittings, termination, and condensate provisions |
|
Local approvals |
Permit, inspection, plumbing, fuel-gas, electrical, and building requirements |
|
Accessories |
Only parts approved for the exact model and installation arrangement |
If the model has not yet been selected, determine the required gallons per minute (GPM), incoming water temperature, desired outlet temperature, and simultaneous demand first. The Eccotemp water heater sizing guide explains how those factors affect selection.
Step 1: Review the Site and Installation Plan
Before mounting the unit, compare the proposed location with the manual’s requirements. The installer should confirm that the wall can support the heater, the unit will remain accessible for service, and the required utilities can reach it without an unsafe or noncompliant arrangement.
For an indoor gas model, the location must support the specified vent and combustion-air system. Outdoor installations require attention to building openings, weather, drainage, and freezing conditions. Electric models require practical access to the necessary electrical service. The tankless water heater location guide provides additional planning considerations without replacing the model manual.
Step 2: Confirm Permits, Codes, and Qualified Trades
Permit and inspection requirements vary by location and project scope. A replacement in the same location may be treated differently from a fuel conversion, electrical-service upgrade, relocation, or first-time tankless installation.
Contact the local building department or ask the installer which approvals apply before work starts. Depending on the project, the installation may involve a licensed plumber, gas fitter, electrician, or other qualified professional.
The installer should follow the current product manual and all applicable plumbing, electrical, fuel-gas, mechanical, and building requirements. A blog article cannot replace those model-specific and local instructions.
Step 3: Verify Utilities Before Mounting the Water Heater
A tankless water heater should not be mounted until the required water, gas, electrical, and venting arrangements have been evaluated. This prevents discovering an undersized utility or unusable vent route after the installation is underway.
Water Supply
Confirm the manual’s connection sizes, operating-pressure range, accepted pipe materials, and filtration requirements. The plumbing plan should include accessible shutoff points and any model-approved service valves needed for future maintenance.
Gas Supply
For propane and natural gas models, a qualified professional must confirm the fuel type, supply pressure, pipe sizing, pipe length, fittings, regulator capacity, and total connected appliance load. The heater’s maximum British thermal unit (BTU) input alone does not determine the required gas-pipe size.
Electrical Supply
Confirm whether the unit uses a grounded receptacle or requires dedicated hardwiring. Voltage, breaker capacity, conductor size, disconnecting means, and grounding must match the manual and applicable electrical requirements.
Step 4: Mount the Water Heater as Specified
The installer should use the manual’s mounting diagram, approved fasteners, structural requirements, orientation, and clearances. The water heater should be secured to a suitable surface and positioned so its controls, connections, filters, and service points remain accessible.
Do not use a generic mounting height or clearance taken from another model. Indoor and outdoor models may have different requirements around combustible materials, ceilings, doors, windows, corners, grade level, and other building features. Protect the unit from jobsite debris while nearby drilling, cutting, plumbing, or construction work continues.
Step 5: Complete the Water Connections
The cold-water inlet and hot-water outlet must be identified correctly. The installer should follow the manual’s requirements for connection sizes, pipe materials, valves, seals, and any pressure-control or relief components.
Water lines should not place excessive weight or mechanical strain on the heater’s fittings. Before final connection, the supply piping should be cleared of construction debris that could enter the inlet filter or restrict flow.
Once connected, the water supply can be opened according to the manual. The installer should purge air from the system and inspect every water connection for leaks before fuel or electrical startup proceeds.
Step 6: Complete Gas or High-Load Electrical Work
This stage depends on the heater type and should be completed only by qualified professionals where required. For a gas model, the installer must follow the manual and local requirements for fuel piping, shutoff components, regulators, pressure verification, leak testing, and combustion setup. Never use a natural gas unit with propane, or a propane unit with natural gas, unless an approved manufacturer procedure explicitly allows conversion.
For an electric tankless model, the electrician must provide the specified circuits, wiring, breakers, grounding, and disconnecting means. Never guess electrical requirements from the heater’s physical size or another model.
Step 7: Install Model-Approved Venting When Required
Indoor gas water heaters require the venting system specified for the exact model. The installer must verify the approved vent material, diameter, maximum equivalent length, allowed fittings, termination method, joint assembly, clearance requirements, and any condensate provisions.
Do not assume every Eccotemp indoor model uses the same stainless-steel components or vent configuration. Condensing and non-condensing models can have different requirements. If approved components are needed, use the manual to identify the correct parts before browsing Eccotemp vent kits or other tankless water heater installation accessories.
Step 8: Purge, Inspect, and Prepare for Startup
Before activating the heater, the installer should complete the manual’s pre-start inspection. This normally includes confirming that the unit is filled with water where required, air has been purged, valves are in their correct positions, and water connections are dry.
The professional responsible for the installation should verify the gas or electrical system using the methods required by the manual and local code. Vent joints, terminations, combustion-air paths, condensate components, and drainage arrangements should receive a final inspection. Do not energize or fire the heater until all required installation checks have been completed.
Step 9: Follow the Model-Specific Startup Procedure
Startup is more than opening a hot-water faucet. Follow the exact sequence in the model manual. The installer should confirm that the heater activates correctly, produces stable hot water, responds to controls, and displays no unresolved error codes. Check performance at the fixtures the system is intended to serve. A successful startup should confirm:
- Stable water flow and outlet temperature
- No water or fuel leaks
- Correct control-panel operation
- Proper burner or heating-element response
- Unobstructed combustion air and exhaust, where applicable
- Correct condensate drainage, where applicable
- No abnormal noise, odor, or error message
Any unresolved problem should be corrected before the system is placed into regular use.
Step 10: Set the Temperature and Explain Safe Operation
Set the outlet temperature according to the manual, household needs, and any applicable plumbing requirements. The U.S. Consumer Product Safety Commission recommends a water-heater setting of no more than 120°F to help reduce scald risk. Some systems or applications may require additional temperature-control measures.
Test the delivered temperature at fixtures rather than relying only on the control display. Water temperature can be affected by plumbing layout and connected equipment. Before leaving, the installer should show the owner how to operate the controls, recognize error codes, shut off utilities, and find the inlet filter and service valves.
Step 11: Plan Maintenance Before the Installation Is Closed
Maintenance requirements depend on the model, water quality, usage, and installation conditions. Avoid applying a universal six-month or annual flushing interval unless the applicable manual supports it. Ask the installer to explain:
- How to inspect and clean the inlet filter
- Whether and when descaling is required
- Which service valves or equipment are needed
- How to protect the unit during freezing conditions
- Which inspections require a qualified technician
- How to shut down the heater safely before service
Follow the current manual rather than a generic maintenance schedule.
Common Eccotemp Installation Mistakes to Avoid
Many installation problems begin before the heater is mounted. Watch for these planning and handoff errors:
- Using instructions for a similar-looking but different model
- Installing a portable outdoor water heater indoors or permanently
- Selecting a location before checking clearances and vent routing
- Assuming an existing gas line or electrical panel has enough capacity
- Purchasing vent parts before confirming model compatibility
- Reversing the hot- and cold-water connections
- Allowing debris to enter the inlet during plumbing work
- Blocking access to filters, valves, controls, or service panels
- Starting the heater before purging and leak checks are complete
- Skipping permits, inspections, or required commissioning steps
For a broader pre-installation and handoff review, use the tankless water heater installation checklist.
Keep the Manual and Installation Records
Create one file containing the manual, model and serial numbers, purchase receipt, installer information, permits, inspection results, startup records, and photos of the completed installation. Record the locations of water, gas, and electrical shutoffs.
These records make future support and maintenance easier. They can also help a technician understand how the heater was installed without opening walls or retracing every utility connection. If a startup problem or error code remains, contact the Eccotemp Help Desk with the full model number, serial number, error information, and clear photos of the installation.
Frequently Asked Questions
Can I install an Eccotemp tankless water heater myself?
Some basic preparation may be homeowner-accessible, but gas, high-load electrical, venting, and code-regulated work should be completed by appropriately qualified professionals following the exact model manual.
Where can I find my Eccotemp water heater installation manual?
Use Eccotemp’s official product-manual library and select the document matching the complete model number, fuel type, and market shown on the heater’s product label.
Can an Eccotemp portable tankless water heater be permanently installed?
No. Eccotemp portable tankless water heaters are intended for temporary outdoor use. They must not be installed indoors or converted into permanent household water-heating systems.