Weekly Deals
 Water Heaters
 Accessories
 Installation
 Parts
Parts
 Protection Plans
 Final Sale


How to make an easy outdoor shower!

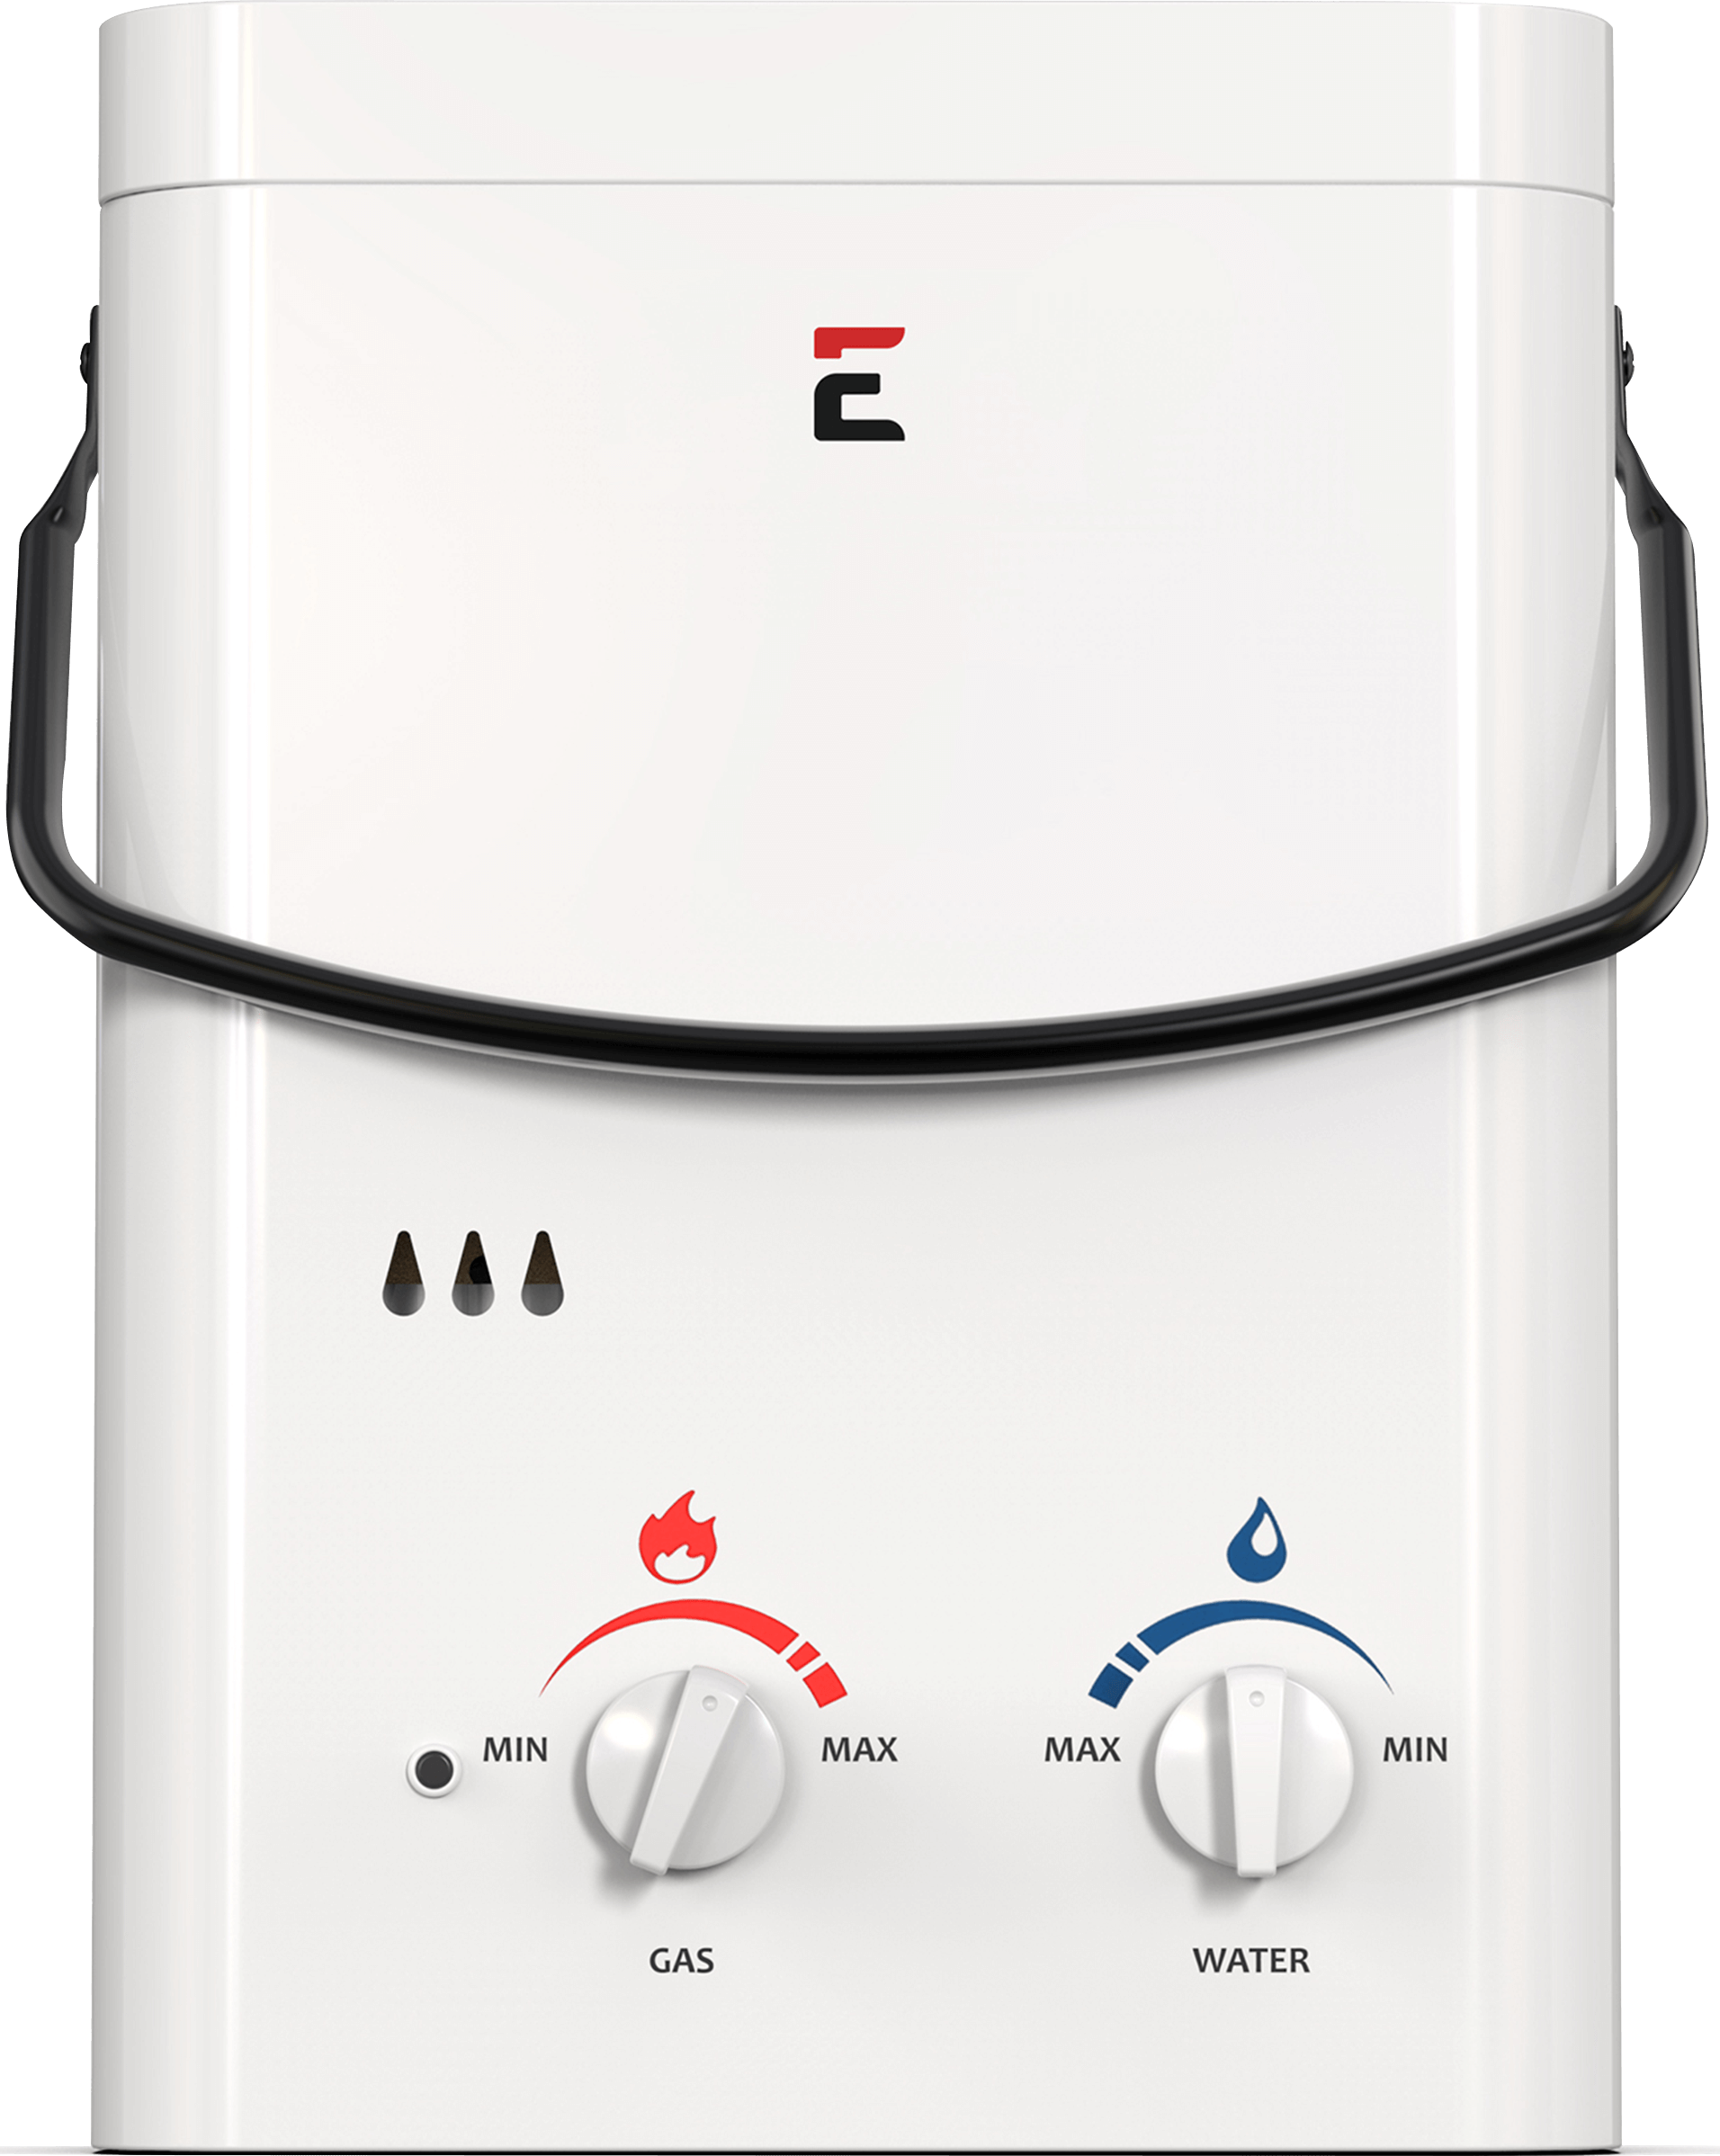
Whether you’re cooling off, rinsing off, or actually bathing, an outdoor shower is a fun and relatively easy summer DIY project that you’ll find yourself using even more than you imagined. Of course, the easiest installation is one involving a garden hose,an Eccotemp L5, and tree branch, but you can make a free-standing one just as easily by following the steps below:
MATERIALS AND TOOLS
Two 8-foot lengths of 4″ x 4″ lumber (cedar, redwood or pressure-treated are best)
Two 8-foot lengths of 1″ x 4″ lumber
Decking or galvanized wood screws in 4-1/2,″ 3-1/2,” and 2-1/2″
Outdoor wood sealer
Post hole digger
Quick-drying concrete
Pea gravel or small stones
Nylon plumbing tape
Four 1/2″ pipe straps
Electric drill and 5/8″ spade bit
Circular or miter saw
Garden hose and outdoor spigot
Eccotemp L5 portable tankless water heater
DIRECTIONS
1.
Choose the location of your outdoor shower. Select an area that’s
relatively level; a slight grade will promote runoff. Consider it’s
proximity to your outdoor spigot and the relative privacy it affords.
2. Build the base. Cut one 4″ × 4″ into four equal 23″ lengths. Build a basic square by staggering the ends and securing with 4-1/2″ screws. Then, cut the 1″ × 4″s into seven 26-1/2″ lengths and space them evenly on top of the base, leaving about a 1/4″ between boards for drainage. Secure the slats to the frame with 3-1/3″ screws. Finish the entire base and the uncut 8′ length of 4″× 4″ with wood sealer and allow to dry.

3. Install the shower. Dig a 12″ deep hole with a post hole digger, and insert the 8′ 4″ × 4″. You can use concrete to secure it, or just fill the hole with dirt. Place the shower base next to the upright 4″× 4″, mark its location, then remove the base and cover the ground with pea gravel or small stones to help with drainage. Place the base on top of the gravel.
4. Install the plumbing. Use a 5/8″ spade bit to drill a hole all the way through the 4″ × 4″ about 6″ above the ground and 2-1/2″ above the base. Connect the plumbing in the following order: Shower head – shower arm – 90° elbow – 48″ length – faucet – 24″ length – 90° elbow – 6″ length. Use nylon plumbing tape at each joint. Then, stick the 6″ horizontal pipe length through the hole in the base of the 4″× 4″upright, and set the plumbing flush to the face. Use 2-1/2″ screws to secure the plumbing to the 4″ × 4″ with the pipe straps.
5. Add the water. Attach the hose to the coupler in the back of the shower. You may want to purchase a Y-splitter for your outdoor spigot so that you can run an additional hose for lawn and gardening tasks. Test the water, and enjoy!
Here are some other outdoor showers, set up with our Eccotemp L5!